
DIY Gel Pedicures at Home: An Expert's Step-By-Step Guide

What is a Gel Pedicure?
A gel pedicure is a pedicure done with gel polish. This pedicure is similar to a gel manicure in procedure and effect, but given its lower popularity, even gel manicure aficionados may want a refresher on what to expect.
A gel pedicure consists of nail treatment and preparation, softening your cuticles, and making sure each toe nail is perfectly shaped with smooth edges before application. A gel base coat is an essential first step, followed by two or more thin layers of polish and a gel top coat to seal your new pedicure.
The same tools are needed for removing as gel manicure as it is for removing a gel pedicure.
 (Source: Pexels)
How to apply a gel pedicure
Whether you go to your favorite nail salon to see your go-to technician or decide to try your hand at gel polish application at home, the steps of the process will be similar.
- Toe nail Prep
- Apply and cure a gel base coat
- Apply and cure the gel polish
- Apply and cure a gel top coat
- After Care

1) Nail Prep
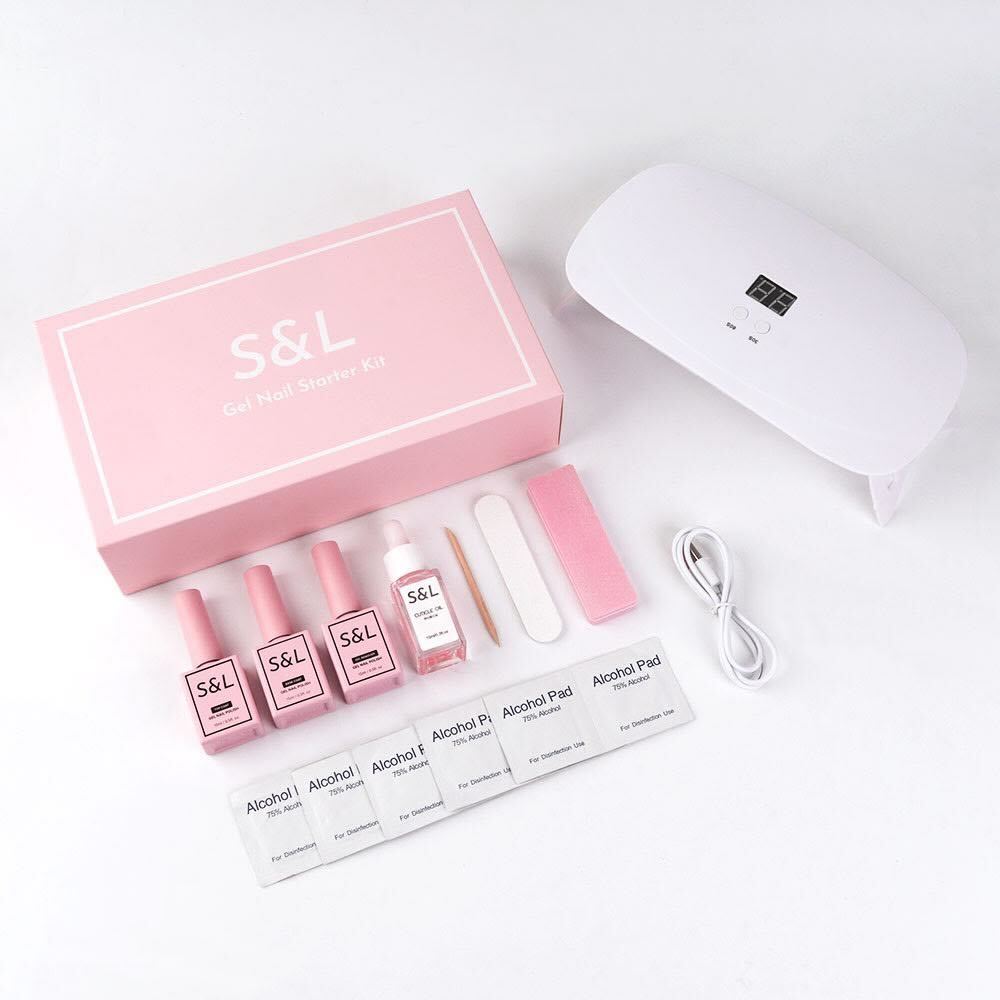
As is good practice for any nail polish application, you will first want to prep your toe nails. The tools that you’ll want handy for this process are the following:
- A nail buffer
- Nail clippers
- A nail file
- Cuticle tools
- Alcohol wipes/hand sanitizer
To prepare the toe nails themselves, buff thoroughly.
Then trim and file your toe nails to ensure that all edges are smooth and even.
Once your toe nails are prepped, use an alcohol wipe to wipe down your toe nails to ensure they're clean and dust-free before applying a base coat.
2) Apply and Cure a Gel Base Coat
Applying a gel base coat is a required step. A regular polish base coat won't work with gel polish because it will never cure under a UV light or LED light.
Start with one foot and apply the gel base coat evenly across each toe nail.
After applying gel base coat on one foot, cure your toe nails under a UV or LED light for at least 30 seconds. Repeat this same process for your other foot.
Be careful not to cure for much longer than 45 seconds as the light source can damage your skin.
Note: The LED lamp is the gentler choice when compared to the UV light. Be sure to keep that in mind when buying a gel nail kit with uv light for an at-home application.

3) Apply and Cure the Gel Polish
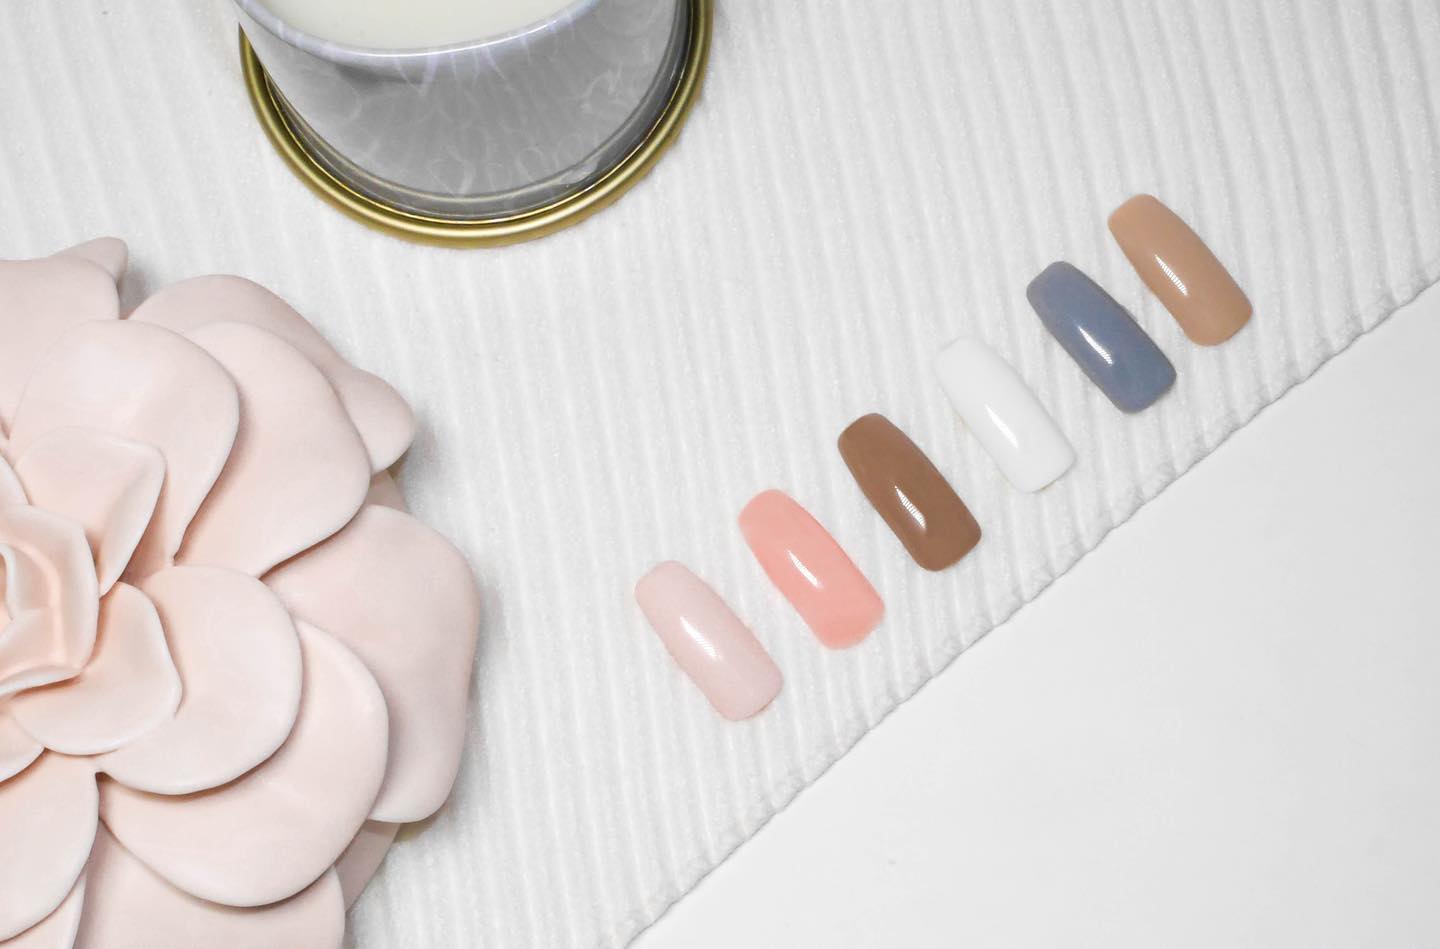
Now the fun part. Find a gel nail polish in your favorite color.
When you apply the gel polish, paint at least two coats evenly.
Have a pack of cotton balls and some acetone for this step so you can remove any stray polish from the skin around your toe nails.
The strays will be simpler to catch before curing since the lamp will dry the polish and cause it to stick, making it difficult to remove.
After painting two coats of gel polish on one foot, cure that foot under an LED or UV light for 45 seconds. Repeat this process of painting and curing for the other foot.
4) Apply and Cure a Gel Top Coat
You will need a gel top coat in order to finish curing your gel polish.
Apply a gel top coat and ensure the edges are sealed. This will help your pedicure last as long as possible.
Cure the gel top coat for at least 45 seconds to ensure that your pedicure is dry.
After curing your top coat, you can finish with some nail art, like nail stickers. Simply add the designs you want — take extra care to make sure stickers are applied smoothly — and seal your work with the top coat again.
Wipe away any excess residue or any stray polish you may have missed on the skin around your toe nails with rubbing alcohol.
5) After Care
A curing lamp can be damaging for your skin, so finish off with some aftercare.
Apply cuticle oil to your toes' cuticles after curing your gel pedicure to strengthen and improve the appearance of your toe nails and cuticles.
Moisturize your feet afterwards to rehydrate your skin.
Remember, the removal procedure will also require you to devote some extra time. If you have the time and necessary tools, removing a gel pedicure is simple enough to do at home.
How to remove a gel pedicure: step-by-step
Removing a gel pedicure takes longer than removing a traditional pedicure, so make sure to set aside plenty of time for the process.
- Prepare the skin around your nails with cuticle oil, cuticle cream, vaseline, or a similar moisturizer.
- Then, with a buffer, buff off the top coat of your pedicure. This will allow the acetone in the next step to adequately penetrate your gel polish.
- Apply a 100% acetone soaked cotton ball or pad to each toe nail
- Wrap each toe nail with aluminum foil to hold the pad on top of each toe nail in place.
- Leave each toe nail covered in the acetone-soaked pad for at least 10 minutes. The longer you let the acetone soak, the more effective the acetone will penetrate the gel polish. After sufficient time, you should see the edges of the gel polish begin lifting off of your toe nails.
- Remove the foil or acetone bath, and with a cuticle stick, push the gel polish off each toe nail bed. If this step remains difficult, you will need to soak them in acetone a little longer.
- Any remaining residue that doesn’t remove with the bulk of the polish can be buffed off of your nails.
- Treat your toe nails to some aftercare with cuticle oil and moisturizer to keep them healthy.

Consider resting your feet for a few weeks between gel pedicures to give them time to recover because the UV/LED light used during the curing process dries the skin around your toe nails.

Benefits of a gel pedicure
While a regular pedicure is already less likely to chip than a manicure, a gel pedicure allows for an even higher level of wear without compromising on the longevity of your polish.
A gel pedicure can last as long as a month, depending on your footwear choices and activity level, so it can be a great way to treat yourself before vacations, events, or even just to spice up your average Tuesday.
Just like a gel manicure, a gel pedicure fits right into your busy schedule.
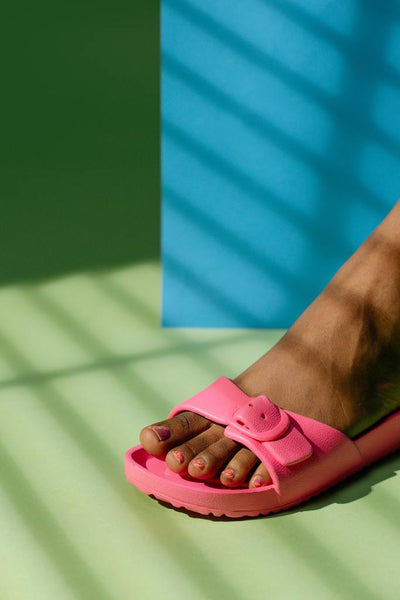
You can leave your appointment or at-home pampering session in the same shoes you came in, without the need for open-toed sandals or flip-flops -- unless, of course, you immediately want to show off your new nails.
This is the perfect polish solution for anyone on the go or anyone who wants a pedicure that they can apply and then immediately forget about, without running the risk of smudging or chipping their newly applied color.

How long do gel pedicures last?
The average gel pedicure lasts at least two to three weeks but can last up to four weeks depending on the shoe, activity level, and environmental factors like time spent on the beach or in chlorinated pools.
Chipping or smudging is less likely to occur than your typical manicure.
How often should you get a gel pedicure?
Since a gel pedicure typically lasts a week longer than a gel manicure, you won't need to reapply gel polish on toe nails or visit the salon as often as a gel manicure.
Gel pedicures are just as taxing on the nails and skin as a gel manicure because of the UV light used on the feet during the application process. That's why we recommend giving toe nails time to rest and recover between gel applications.
How long you need to wait will depend on how well you're taking care of your skin and nails with post-care treatments. Cuticle oil should be frequently applied on your nails to aid in the recovery of your toe nails.

Can I wear shoes after a gel pedicure?
Yes! Since the application is dried immediately under LED/UV light, you can leave your appointment or at-home application in close-toed shoes.
One of the main benefits of gel pedicures is they can fit comfortably into your busy schedule without requiring extra time to dry.
Gone are the days where an additional pair of shoes were needed to your mani-pedi appointments.
Safety Precautions
Avoid gel pedicures if you have any open cuts or wounds on your feet, as the gel polish could potentially cause irritation or infection.
Use proper tools and techniques to remove the gel polish, as improper removal can damage the nails.
Takeaways
The gel pedicure isn't as well-known as the gel manicure, but that doesn't mean it's any less fun to get one.
The process is as simple as any other nail service: with a few coats of polish and added time to dry, you can slip your shoes back on and be ready to go back to your day.
You could have a gel pedicure that lasts for the rest of the month.
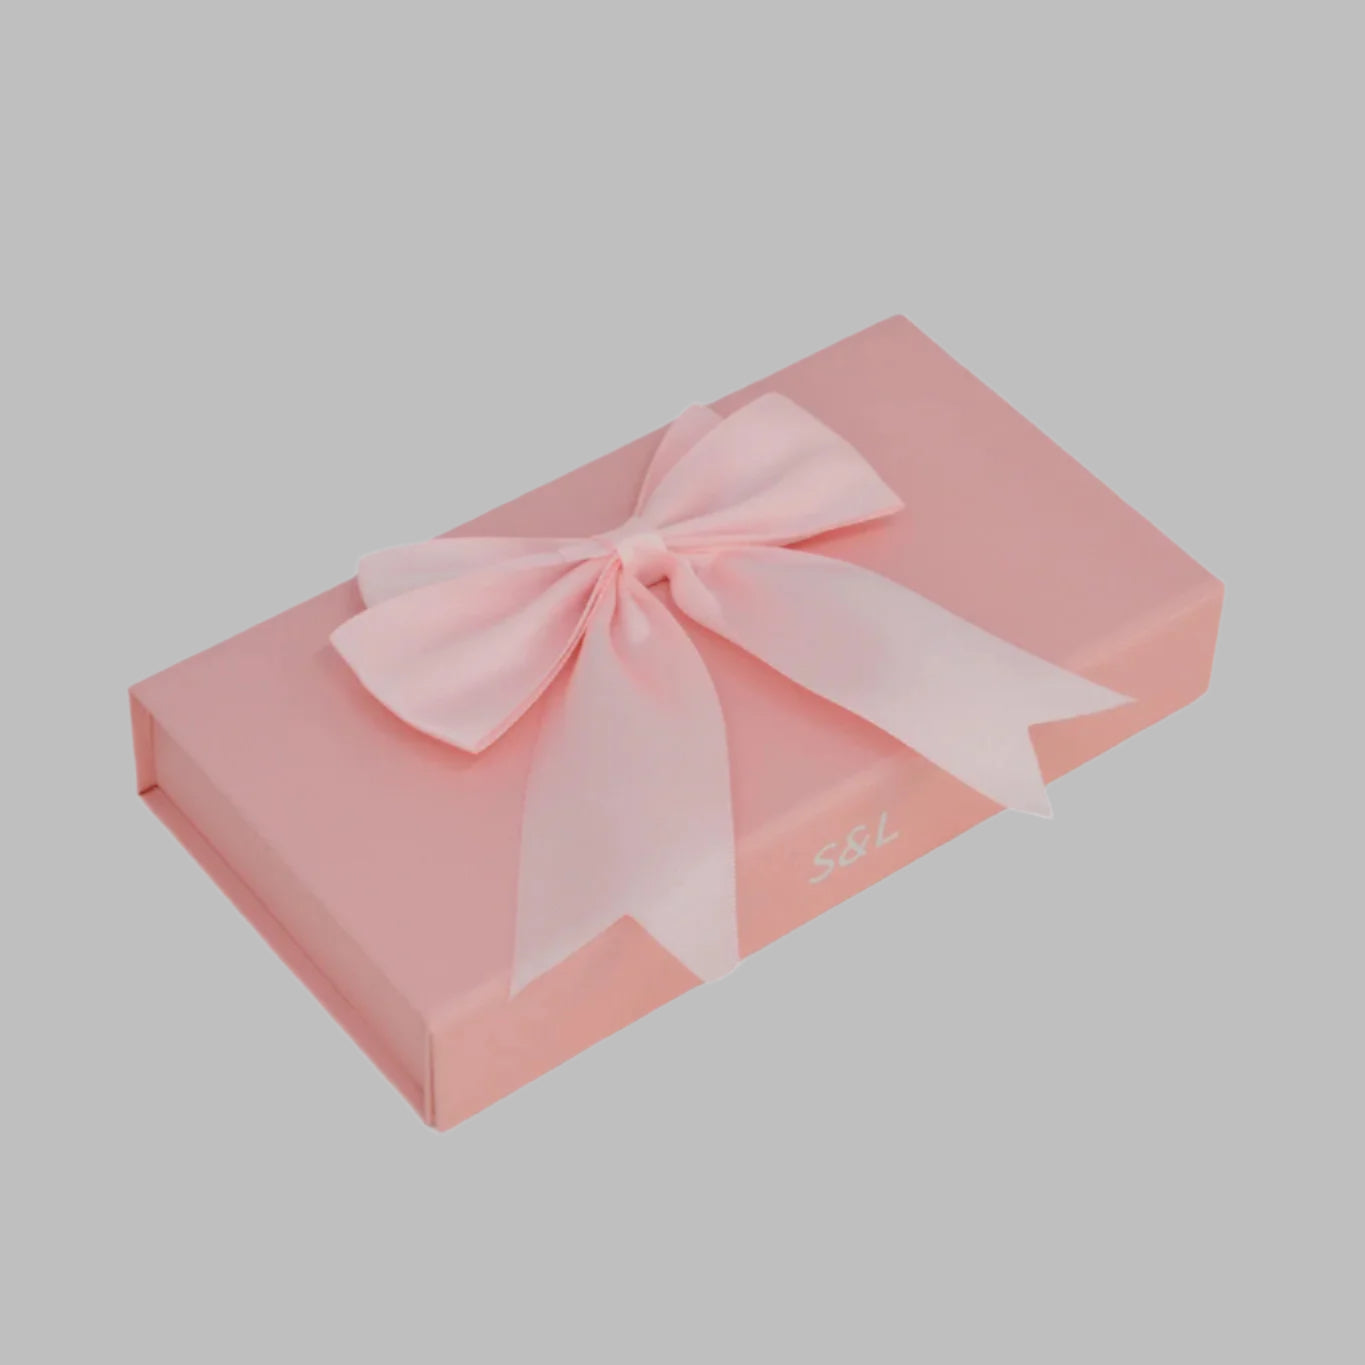
S&L Beauty Company has a wide range of beautiful colours, so you can stock up on polishes that work well for any season, mood, or event that needs a little extra pampering. With gel nail polish that is safe for your skin, nails, and the planet, the possibilities are endless.

Leave a comment
This site is protected by hCaptcha and the hCaptcha Privacy Policy and Terms of Service apply.