How to Remove Gel Nail Polish at Home: Gentler Methods (2026)
Feeling anxious about damaging your nails while removing gel nail polish at home by yourself? You're not alone.
There are two main methods to removing gel nail polish: (1) the traditional method and (2) with a gel nail polish remover. We provide the instructions for both methods.
Make removal easier (and safer for your nails) Our
Below is the traditional complete step-by-step guide on how to remove gel nail polish at home:
- File your nail bed with a nail file
- Apply acetone to a cotton ball
- Wrap the tip of the finger in aluminum foil
- Use a cuticle stick to remove gel polish
- Buff your nails
- Apply cuticle oil on your nail
The gentler and faster method to removing your gel nails is with a gel nail polish remover:
We prefer this method to maintain healthy nail beds and to avoid brittle nails between gel manicures because it doesn’t require an acetone bath and takes 5 minutes to do, not 20 minutes like the traditional method while needing fewer tools.
[PROD]easy-gel-polish-remover[/PROD]
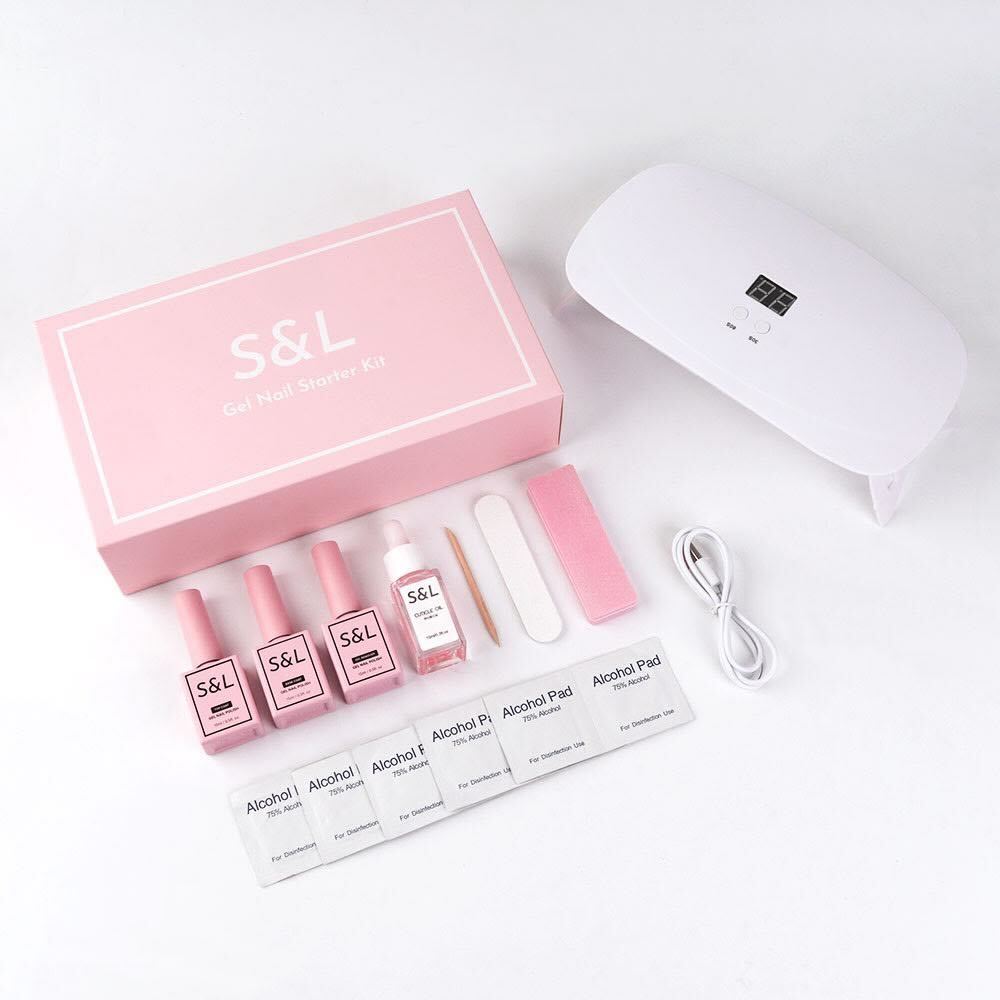
What you need to remove gel nails at home

To remove gel nails at home, you need a few supplies. Here's the list:
- A nail file (180 grit)
- A cuticle pusher (cuticle stick)
- Cotton balls or cotton pads (lint-free)
- 100% pure acetone
- A nail buffer
- Aluminum foil
- Cuticle oil
The main supplies you need are acetone, cotton balls (or pads), aluminum foil, a cuticle pusher, and a nail file. Cuticle oil and a nail buffer are extra. They keep your nails healthy, but you don't have to use them.
Preparations before removing your gel nail polish at home
Before you start removing your gel polish at home, here are some tips to keep in mind:
- Work on one hand at a time. It's easier
- Choose a well-ventilated spot because acetone has a strong smell
- Put a cloth over your work area to avoid acetone stains
- Cut 10 squares of aluminum foil, big enough for each fingertip
- If you're using cotton balls, tear off 10 pieces that fit just the nail bed of each nail.
How to remove gel nails at home: 6 easy steps
Before you start, know that the method described below is the traditional, acetone method.
But, using our gel nail polish remover is faster. It gets your gel polish off in 5 minutes, while the acetone method takes 15 minutes.
Now you know the options on how to remove a gel manicure at home. Here is an easy-to-follow, step-by-step guide on how to remove your own gel nails at home.
1. File your nail bed with a nail file
 >
>
Use a coarse nail file to file down the gel top coat layer until the top coat is no longer shiny and smooth. Do this on each nail.
Start with your non-dominant hand. Gently file from the cuticle to the edge of your nail, moving left to right. Don't use a back-and-forth motion and don't focus on just one spot.
Filing down the top coat shows the gel polish underneath. This makes it easier to take off the polish with acetone later.
2. Soak acetone to a cotton ball or cotton pad
 >
>
If you're using cotton balls, tear off pieces that are about 1.5x1.5 cm. Make sure they're thin but big enough to cover your nail bed.
The cotton shouldn't be so big that it hangs over and touches the skin around your nails or your cuticles.
Next, soak a cotton ball in acetone. It should be damp, but not dripping wet. Usually, 5 to 10 drops of acetone will do the trick.

If you soak the cotton ball with too much acetone, it might irritate your skin. This can make your skin red, dry, or even cracked.
If you're using cotton pads, put acetone right onto the pad. It should be damp, but not dripping.
Put the acetone-soaked cotton on top of your fingernail, then move on to the next step.
 >
>
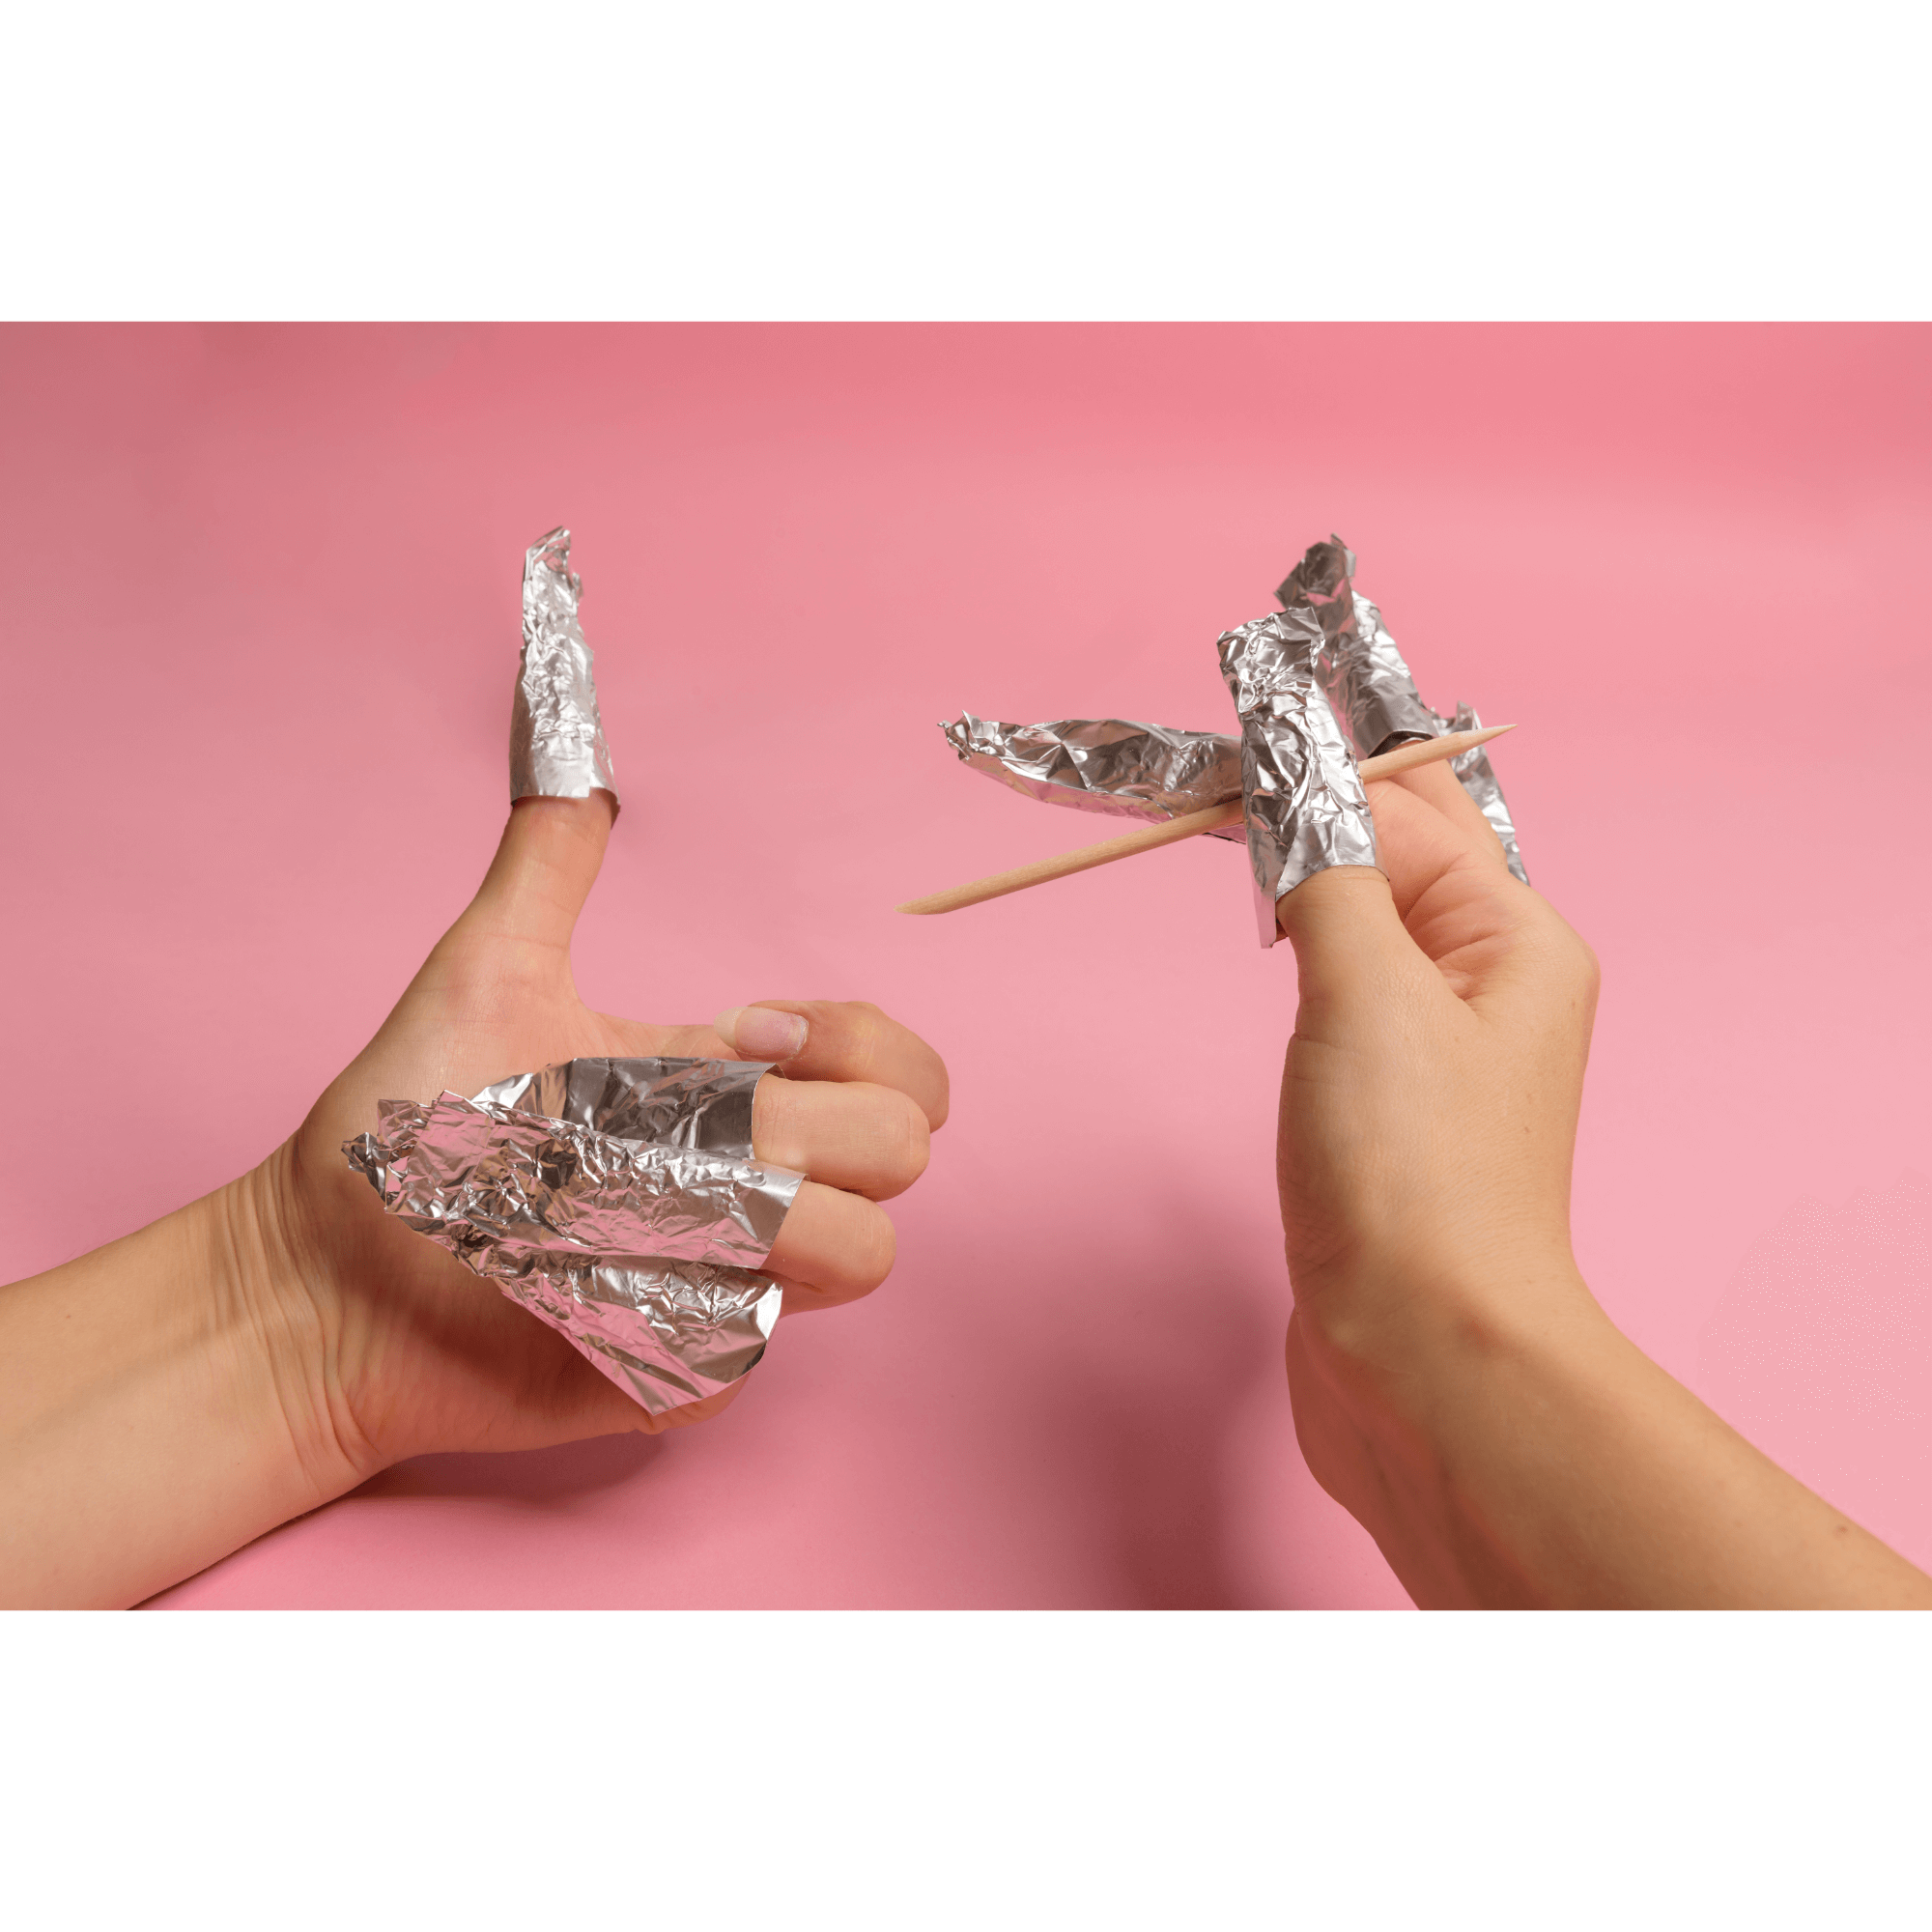
3. Wrap the tip of the finger in aluminum foil
 >
>
To keep the cotton ball in place, start wrapping your fingertip with the 3x3 inch aluminum foil you cut earlier.
Now, do steps 2 and 3 for each fingernail. Keep going until all your fingers are wrapped in foil with cotton balls on them.

Once you've wrapped each nail, wait 10 minutes. This gives the acetone time to soak into the gel polish.

After 10 minutes, the gel polish should be soft and might look bubbly or curled. Now you can pinch off the foil and cotton ball from your nail.

4. Use a cuticle stick to remove gel polish

Use a metal cuticle pusher or an orangewood stick to gently push the gel polish off each nail.
If the polish isn't coming off easily, keep soaking the nail with the acetone cotton ball for another 5 minutes.
5. Buff Your nails
 >
>
Gently buff your nails to smooth out ridges and uneven edges. This will also help smooth the surface of your nails and remove any small bits of gel polish left.
But be careful not to buff too much. If you do, your nails can get thin and weak. This makes it hard for gel polish to stick properly in the future.
Overly buffed nails can bend a lot, and this makes the gel polish come off the nail plate easily.
6. Apply cuticle oil on your nail

Taking off gel polish with acetone can be tough on your nails and skin. It dries out your skin and makes your nails feel rough. This is why we recommend our gel nail polish remover because you don't need to use acetone.
Put on cuticle oil to help your cuticles stay hydrated and keep your nails healthy and strong.
Then, rub in the cuticle oil well to cover all of your cuticles.
 >
>
You can never use too much cuticle oil. Apply cuticle oil as frequently as three times a day daily if you feel it’s worth keeping your nails and skin in perfect shape.
That's it!
Using a g
If you don't have much time or the things you need to take off gel polish, try our gel nail polish remover instead of using acetone, cotton balls, and foil. Here's why people like gel nail polish removers:
- They take off your gel polish in just 5 minutes
- They're easy to use
- They don't harm your nails
- You don't need to wrap your nails in foil
- You can skip going to the nail salon
- There's no strong smell
- They're small enough to take with you when you travel
- They work on gel polish, acrylic, dip powder, and regular nail lacquer
In short, gel nail polish removers are simple to use, need fewer tools than the usual way to remove gel nails, and they don't damage your nails.
How to use a g
1. File the topcoat
Use a coarse nail file on the top coat layer until it's not shiny and smooth anymore.
2. Apply the gel polish remover
Put a thick layer of gel polish remover on your gel nails. Try not to get it on your skin.
3. Wait 5 minutes
Give the remover 5 minutes to soak into the gel nails. You'll see the edges of the gel polish start to peel, crack, bubble, or burst. If your gel polish is thick, you might need to wait a bit longer.
4. Loosen the
Use a metal cuticle pusher or an orangewood stick to gently remove the gel polish from each nail. Then clean your nails with a nail buffer. (Some gel polish brands are easier to remove than others).
5. Moisturize your nails
For , apply to rehydrate your cuticles.
Avoid these common mistakes when removing gel nail polish
Soaking your nails in an acetone bath
Dunking your nails in a bowl of pure acetone can really dry out your nail plate, cuticles, and the skin around your nails. It can make your nails dry and brittle, and your skin and cuticles might get dry, flaky, red, and irritated.
Instead, we suggest using acetone-soaked cotton balls. This way, you only put acetone where it's needed on your nail and keep it off your skin.
Because soaking in acetone can harm your nails and skin, it might take longer to fix them before you can put on gel polish again. So, it's best not to follow this advice.
Using an electric nail drill is not recommended
If you’re a beginner, it's not a good idea to use a drill to grind off gel nail polish. You might accidentally grind into your nail plate, not just the gel polish.
This can hurt your nail plate and make your nail bed more sensitive. Your nails will end up thin and weak.
If this happens, you'll have to wait for your whole nail to grow out and be replaced by a new, healthy nail.
Don't pick and peel off your gel polish
Peeling off gel polish without using acetone can damage the top layer of your nails. This can make your nails brittle, and they might crack and break easily.
If your nails get weak from this, it can take weeks, sometimes even more than a month, for them to get healthy again. This means you'll have to wait longer for your next gel manicure.
Tired of the removal struggle? Start fresh with better gel. Our

%20the%20traditional%20method%20an...)
8 comments
Thank you for this information and including pictures. You were very thorough and provided good explanations.
Chris
Thank you for explaining the process of removing gel nails and information on
the " Dos and Don’ts" of better nail care.
Awesome article!
Jen Jen
Thanks for the information. It was so helpful.
Carol Mueni
Thank you so much for all this information. It was all so clearly put that I really believe I can remove my gel nails.
Mrs Olga Danes-Volkov
Thank you so much for the insight and information….you really made a difference.
Ari
Thank you!!!
THE BEST ADVICE on the internet for removing gel nail polish.
I appreciate the do’s and don’ts advice as well as the thorough explanations.
Betty Hansen
Thank you so much for the information on removing gel nails. I learned some things that I was not aware of that could damage the nails.
Cyndy Robinson
Thank you for the information it was very helpful now I’m ready to do my nails
Carmen
Leave a comment
This site is protected by hCaptcha and the hCaptcha Privacy Policy and Terms of Service apply.