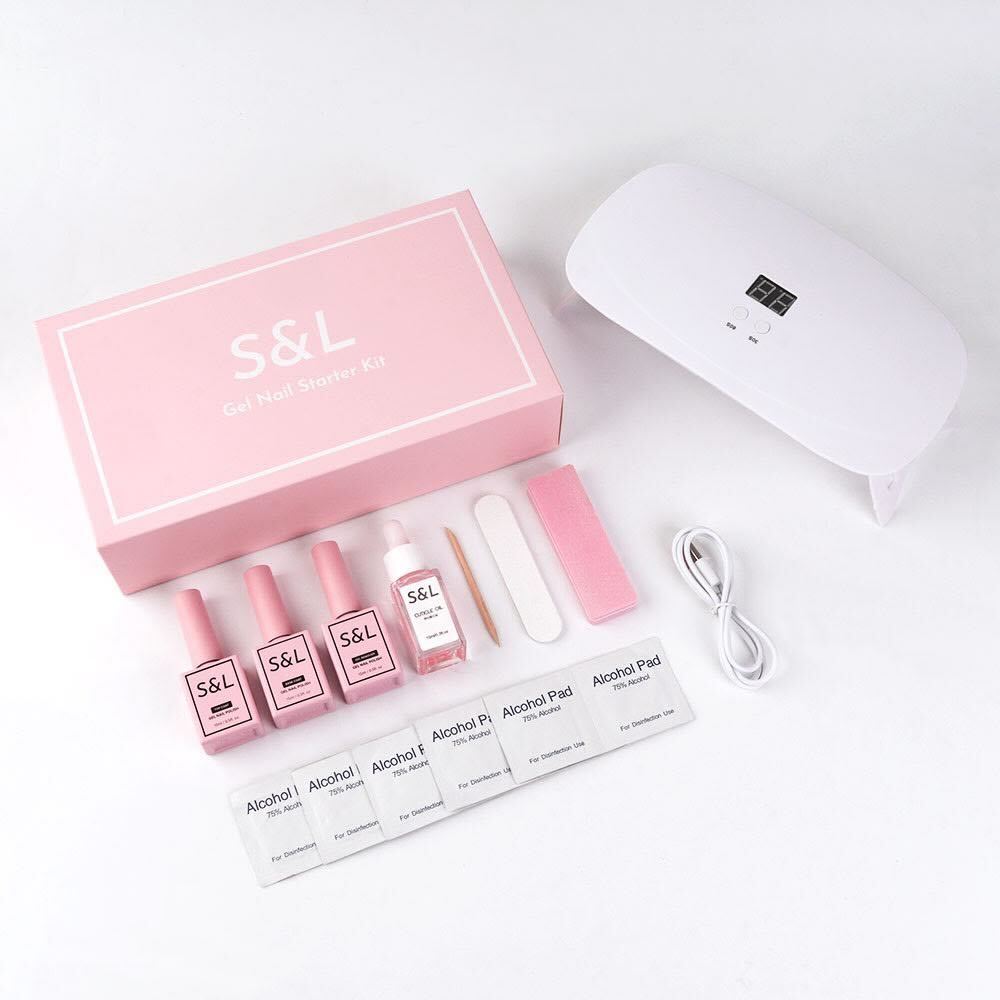
Gel Nail Polish Application Removal Care Guide By S&L
Application Guide
1. Prep Your Nails
- File and shape your nails to your desired length and style.
- Gently push back cuticles, trim if needed, and buff the nail surfaces.
- Cleanse nails with alcohol pads to remove any oils or residue for better adhesion.
2. Apply Base Coat
- Apply a thin, even layer of S&L Base Coat.
- Cure under the UV LED lamp for 60 seconds.
- Note: The base coat & gel color will remain slightly tacky / sticky after curing - this is normal. Refrain from touching.
3. Apply Color Gel
- Apply a thin layer of S&L Color Gel.
- Cure for 60 seconds under the lamp.
- Repeat for a second coat for a more vibrant color.
- Pro tip: Avoid applying on your cuticles. Keep a small gap between the gel polish and your skin for best results.
4. Apply Top Coat
- Apply a thin, even layer of S&L Top Coat.
- Pro tip: Cap the edges of the nail to help prevent chipping.
- Cure under the lamp for 60 seconds to seal in a shiny, durable finish.
Remover Guide (No Acetone or Foil)
1. File the Top Coat
- Gently file the surface of your nails until the top coat is no longer shiny.
2. Apply Gel Remover
- Apply a thick coat of S&L Easy Gel Remover over the gel color.
- Avoid direct skin contact.
3. Wait 5 Minutes
- Allow the remover to soften the gel polish for 5 minutes.
4. Scrape Off Gel Polish
- Use a cuticle stick to gently scrape off the softened gel polish.
5. Buff and Finish
- Buff away any remaining residue until your nails are smooth.
Nail Care Guide
1. Apply Cuticle Oil
- Add a small drop of S&L Cuticle Oil onto each cuticle.
- Gently massage in circular motions to nourish cuticles and nail beds.
- Wait 2 minutes for optimum absorption.
- Tip: Gently massage in circular motions to nourish cuticles and nail beds.
2. Give Your Nails a Break (Optional)
- Allow your nails to rest for a few days between gel applications.
- This helps prevent over-drying, thinning, and brittleness, promoting stronger nails.
Updated 2025-01-20


