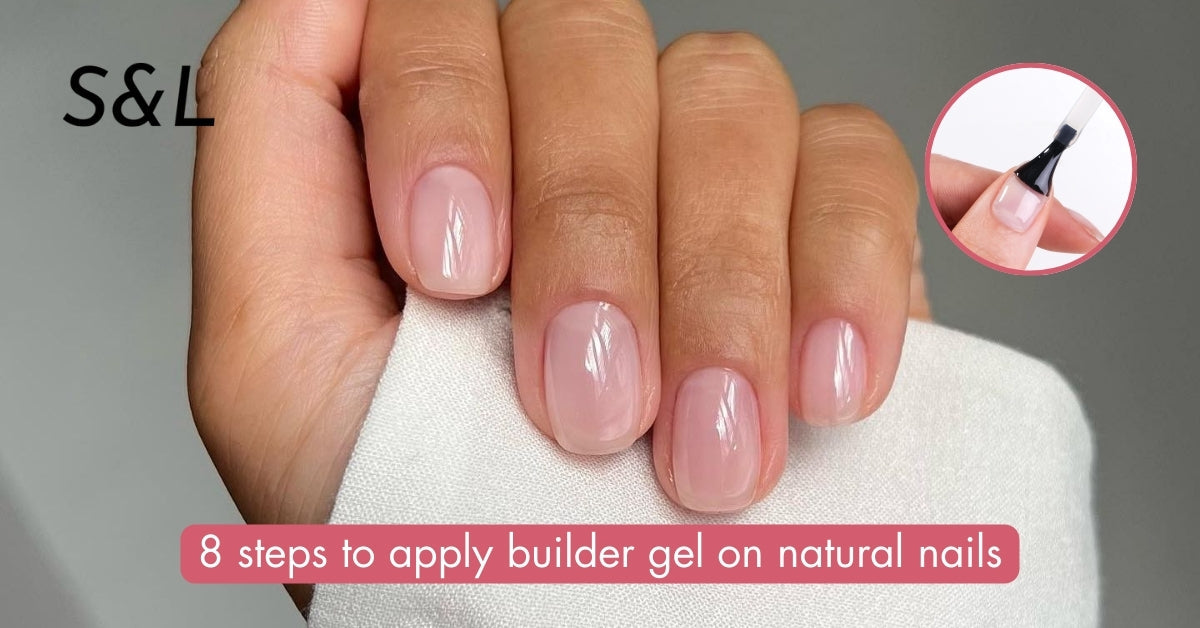
How to use builder gel on natural nails: 8 easy steps
S&L Beauty brings you a detailed, step-by-step guide on how to apply builder gel on natural nails. This tutorial is easy to follow, suitable for beginners, and ensures a long-lasting, beautiful manicure without lifting or chipping.
How to use builder gel on natural nails
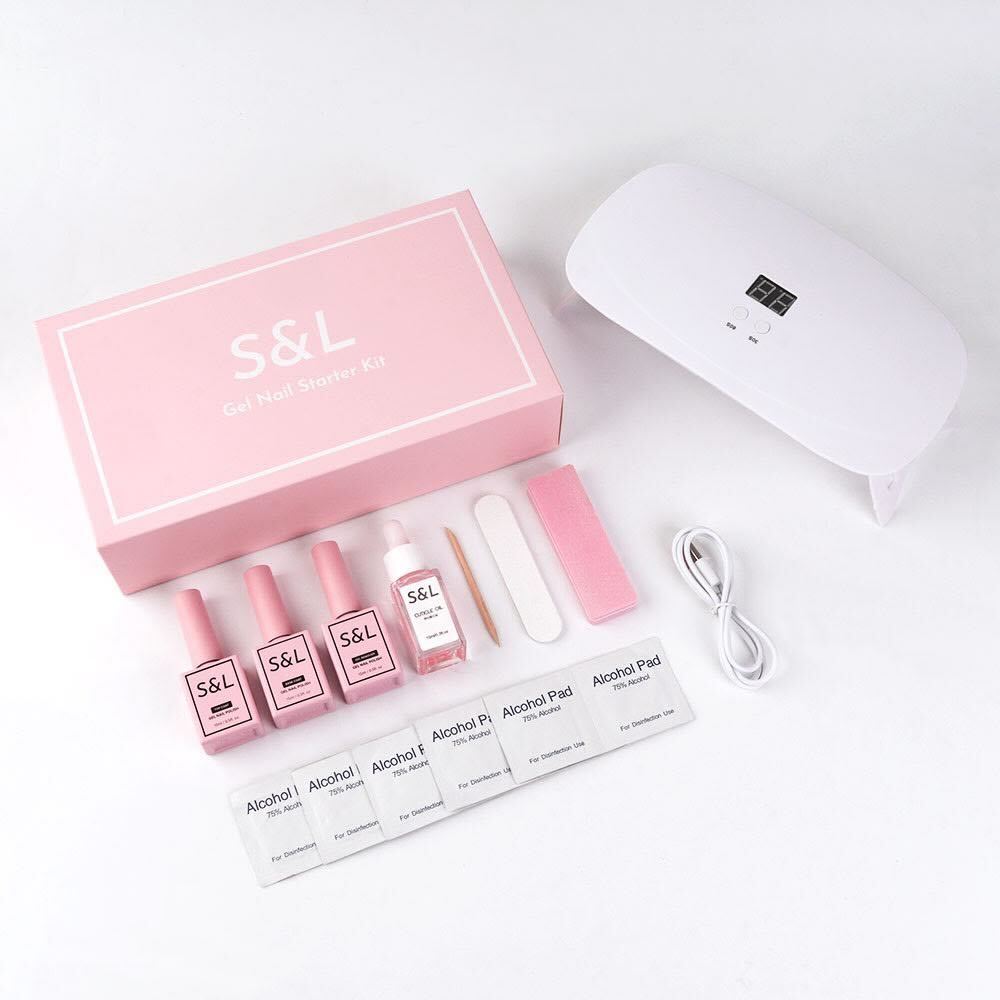
- Step 1: Prepare all necessary tools, including builder gel, base coat, top coat, UV/LED lamp, nail file, buffer, gel brush, cleanser, and cuticle oil.
- Step 2: Prep your nails by washing, shaping, pushing back cuticles, lightly buffing, and cleaning the surface for better adhesion.
- Step 3: Apply a thin base coat if your builder gel doesn’t include one, then cure under UV for 60s or LED for 30s.
- Step 4: Apply a thin, even layer of builder gel across the entire nail surface and cure it.
- Step 5: Build thickness and the apex by placing a bead of gel in the center, guiding it outward, flipping your hand to self-level, then curing thoroughly.
- Step 6: Perfect the surface by wiping off excess gel, lightly filing to refine the shape, and buffing for smoothness.
- Step 7: Apply a thin top coat for shine and protection, cure it, and wipe away any tacky layer if needed.
- Step 8: Finish by massaging cuticle oil into the skin around your nails to keep them healthy and moisturized.

Detailed 8 steps to apply builder gel on natural nails
Step 1: Prepare the necessary tools
Before you start applying builder gel on natural nails, you need to prepare all the necessary tools so the process goes smoothly. This includes:
- Builder gel (a type suitable for natural nails)
- Base coat (if your builder gel doesn’t contain a base component)
- Top coat
- UV or LED lamp
- Nail file and buffer
- Antiseptic solution or 90% alcohol
- Dust brush
- Gel brush (if your builder gel comes in a pot)
- Gel cleanser (if needed)
- Nail/cuticle oil
Step 2: Prepare your nails
Preparing the nails is a crucial step that helps builder gel adhere firmly and minimizes lifting over time. This includes:
- Wash your hands thoroughly and dry them completely.
- File your nails to the desired shape.
- Gently push back the cuticles around the nail edges.
- Lightly buff the nail surface to remove natural oils and add texture.
- Wipe away dust and oils with alcohol or a nail cleanser.
Tip: Do not over-buff, as it can thin the natural nails and make builder gel lift more easily.

Step 3: Apply a base coat (If Needed)
If you’re using a builder gel that does not contain a base component, apply a thin layer of base coat before you begin. After that, be sure to cure under a UV lamp for 60 seconds or an LED lamp for 30 seconds to dry the base layer.
Step 4: Apply the first layer of builder gel
Take a small amount of builder gel with your brush. Then apply a very thin layer to cover the entire nail surface to help the gel adhere better. Finally—and this is very important—cure under UV for 60 seconds or LED for 30 seconds.
Step 5: Build thickness and the apex
After the first layer of builder gel has cured, take a small amount of builder gel with your brush and place it in the center of the nail. Then gently guide the gel from the center toward both sides to create a natural apex.
Next, flip your hand upside down for a few seconds so the gel self-levels toward the center, helping the nail achieve even thickness. Finally, cure under a UV/LED lamp for about 60–90 seconds, depending on the thickness of the gel layer.

Step 6: Perfect the surface
After the second sculpting layer of builder gel has cured, you can use a gel cleanser to wipe away any excess gel around the nail. In addition, observe the nails and lightly file to refine the shape if needed. Note that you should buff the surface so it looks smooth and even.
Step 7: Apply top coat
At this step, if the builder gel you’re using already has a certain level of shine and clarity, you can skip it.
Otherwise, you can still apply a thin layer of top coat to add shine and better protect the builder gel, then cure under UV for 60 seconds or LED for 30 seconds. Lastly, wipe off any remaining tacky residue (if your top coat is not a no-wipe formula).
Step 8: Apply cuticle oil
Use the nail/cuticle oil you prepared to deliver moisture to the skin around the nails. To help the oil absorb evenly, gently massage around the nails to keep them healthy.

Tips to make builder gel last longer on nails
Many users are understandably frustrated when their builder gel lifts and looks unappealing after a short time. Therefore, you should keep the following in mind to help builder gel last longer:
- Remove dust, oils, cuticles, and debris so the builder gel adheres more securely.
- Create just enough surface texture for adhesion, but do not over-buff, as it will thin the nails.
- Avoid touching the nail surface after buffing.
- Apply thin layers and cure thoroughly to prevent lifting.
- Do not let builder gel touch the skin or cuticles, as it can cause edge lifting.
Notes when applying builder gel on natural nails
When applying builder gel on natural nails, there are several important notes to help you avoid lifting and cracking while keeping your nails healthy:
- Use builder gel formulated for natural nails or a combined base + builder gel to save steps.
- Prioritize products with strong adhesion and good flexibility to reduce breakage.
- Do not apply a thick layer at the start; it may flood the cuticle area or cause heat spikes during curing.
- If builder gel touches the skin, it can cause edge lifting and create gaps where bacteria can accumulate.
- Keep a 0.5–1 mm gap from the cuticle line when applying gel.
- Place the builder gel in the center of the nail, then gently guide it toward both sides to form a natural apex.
- If gel floods the sidewalls, wipe it off immediately before curing.
- Follow curing times, as each builder gel may require different curing durations—typically 60–90 seconds with UV or 30–60 seconds with LED.
- After curing, always wipe off the sticky inhibition layer with a specialized cleanser.
- Do not apply builder gel back-to-back without giving your nails a break, as this may gradually weaken them.
- Nourish your nails and the surrounding skin regularly with cuticle oil.
Common mistakes when applying builder gel
|
Common mistake |
Cause |
How to fix |
|
Builder gel lifting |
Contact with skin; oils not fully removed |
Prep thoroughly; keep gel off the cuticle line |
|
Early cracking/breakage |
Layers too thin or too thick |
Build appropriate thickness; control the apex |
|
Heat spikes while curing |
Layer too thick |
Apply thinner layers; cure in stages |
|
Gel not fully cured |
Insufficient curing time or a weak lamp |
Check lamp power and cure for the full time |

Leave a comment
This site is protected by hCaptcha and the hCaptcha Privacy Policy and Terms of Service apply.