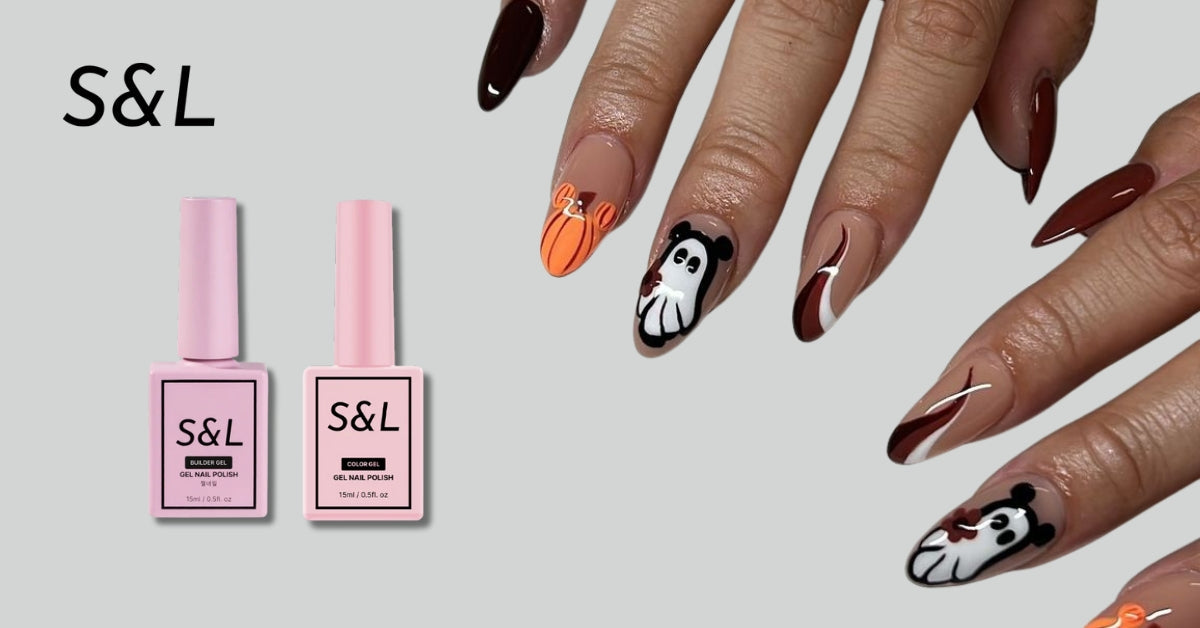
5 Common Mistakes When Using Builder Gel with Gel Polish
If you’ve ever wondered why your gel polish peels or your builder gel manicure doesn’t last, you’re not alone. Many nail lovers — even professionals — make small mistakes that affect the results. In this article, S&L Beauty reveals the 5 most common mistakes when using builder gel with gel polish — and how to fix them for a smooth, long-lasting, and flawless finish.
1. Skipping Proper Nail Preparation
This is by far the #1 reason why builder gel or gel polish starts to lift, peel, or chip within just a few days. Builder gel, like any nail enhancement, needs a clean and oil-free surface to adhere properly.

What Happens:
If you skip nail prep — such as removing oils, dust, or dead cuticles — the gel won’t stick evenly. Natural nail oils can act as a barrier, causing the builder gel or gel polish to separate from the nail plate over time.
How to Fix It:
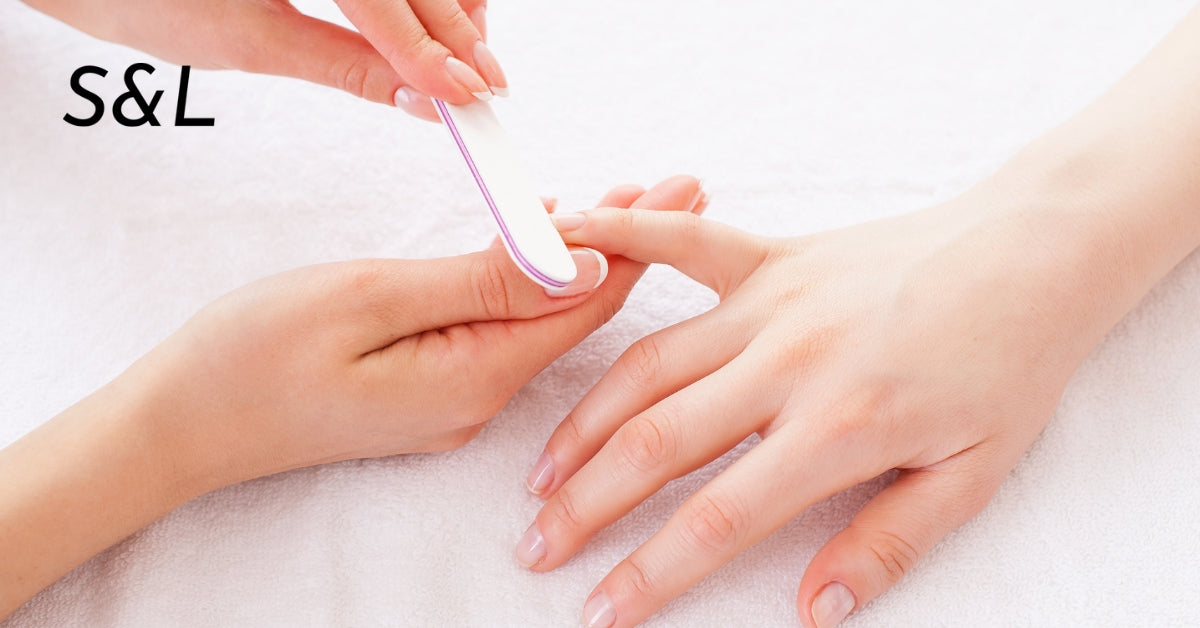
Proper prep should always include these essential steps:
- Clean and sanitize your hands and nails.
- Push back and remove cuticles carefully using a cuticle pusher or remover.
- Buff the surface of each nail gently to remove shine and smooth out imperfections.
- Wipe with a dehydrator or alcohol to remove oil and moisture.
- Apply a primer (especially if you have naturally oily nails) before your builder gel base.
Pro tip: Good prep is the foundation of a long-lasting manicure. Even the most expensive builder gel won’t last without it!
2. Applying Builder Gel Too Thick
Builder gel is thicker than regular base gel, but that doesn’t mean you should apply a large glob in one go. Overly thick layers are one of the most common mistakes that lead to uneven curing, heat spikes, and peeling.

What Happens:
A thick layer of builder gel may not cure evenly under the lamp. The top might harden, but the inner layer remains soft or uncured — leading to lifting or cracking later. Thick layers can also flood the cuticles and sidewalls, which not only looks messy but can cause product lifting at the edges.
How to Fix It:
- Work in thin layers. Start with a thin base layer, then cure it. Add another layer if you need more strength or structure.
- Use gravity to your advantage. Hold the hand upside down for a few seconds before curing. This helps the gel self-level naturally.
- Avoid touching the cuticles. Always leave a tiny gap between the gel and the skin — this prevents lifting.
Pro tip: It’s better to apply 2–3 thin layers than one thick one. Thin layers cure evenly and provide better long-term durability.
3. Not Curing Properly Between Layers
Curing is what transforms builder gel from a sticky liquid into a durable solid structure. If you don’t cure each layer completely, it won’t harden correctly — and the gel polish applied on top will eventually peel off.

What Happens:
Incomplete curing happens when the lamp is too weak, the curing time is too short, or the nail is placed too far from the light source. The result is a soft or tacky base that can’t support the gel polish properly.
How to Fix It:
- Use a high-quality lamp (at least 48W) compatible with your builder gel brand.
- Cure each layer for 60–90 seconds under LED (or 120 seconds under UV).
- Check the tacky layer. Some builder gels leave a sticky layer after curing — this is normal, but it should not feel wet or soft.
- Avoid over-curing. Too long under the lamp can make the gel brittle. Follow your product’s exact instructions.
Pro tip: Always cure thumbs separately to ensure even light exposure. Many people forget this, and it’s one of the main causes of peeling on thumbs.
4. Applying Gel Polish on a Sticky or Uneven Surface
Once your builder gel is cured, the surface might not be perfectly smooth — or it might still have a sticky residue. Applying gel polish directly over that can lead to uneven coverage, bubbling, or peeling.

What Happens:
When the surface isn’t smooth or has leftover dust, the color layer doesn’t bond properly. This results in patchy color, poor adhesion, or even visible lumps after curing.
How to Fix It:
- Clean the surface. Wipe away the tacky layer with a cleanser or alcohol.
- Shape and smooth. Lightly buff the builder gel to even out any bumps or ridges.
- Remove dust completely before applying gel polish — even a tiny particle can ruin the finish.
- Apply a thin, even coat of gel polish and cure before adding the second layer.
Pro tip: Think of your builder gel as the “foundation” and your gel polish as the “paint.” You want a smooth, flawless base before applying color.
5. Forgetting to Seal the Top Coat Properly
Even if your application is perfect, missing the final seal can undo all your hard work. The top coat locks everything in place, providing protection, shine, and durability. Many people forget to fully seal the edges of their nails — and that’s where peeling usually begins.

What Happens:
If the top coat doesn’t seal the free edge, water and air can sneak under the layers, causing the color to lift. Skipping this step can also lead to dullness, scratches, or early chipping.
How to Fix It:
- Always finish with a high-quality top coat. It protects the builder gel and color layer underneath.
- Seal the edges. Swipe your brush lightly across the tip of each nail — this prevents water penetration.
- Cure properly. Follow the brand’s recommended curing time (usually 60–90 seconds).
- Wipe off the sticky layer after curing if using a traditional top coat (no-wipe versions don’t need this).
Pro tip: For extra shine and durability, apply cuticle oil after curing — it helps hydrate your nails and skin while adding a professional touch.
Bonus: How to Make Builder Gel + Gel Polish Last Longer
Once you’ve mastered the basics, here are a few extra tips that can make a huge difference:
- Stick to one brand when possible — builder gel, gel polish, and top coat from the same line are usually formulated to work together.
- Avoid soaking your hands in water for a few hours after finishing your nails.
- Wear gloves when cleaning or doing dishes — harsh chemicals can break down gel coatings.
- Reapply cuticle oil daily to keep your nails and surrounding skin hydrated.
- Don’t pick or peel. If your gel lifts slightly, avoid pulling it — it can damage your natural nail plate.
Conclusion
Using builder gel with gel polish is one of the best ways to create strong, long-lasting, salon-quality nails. Builder gel provides strength and a flawless foundation, while gel polish adds color, shine, and style. However, for these two products to work perfectly together, technique and timing are key.
Most issues like peeling, cracking, or dullness come from small mistakes that are completely avoidable during application. By properly prepping your nails, applying thin layers, curing correctly, and sealing the edges carefully, you can achieve a beautiful, glossy, and long-lasting finish every time.

Leave a comment
This site is protected by hCaptcha and the hCaptcha Privacy Policy and Terms of Service apply.