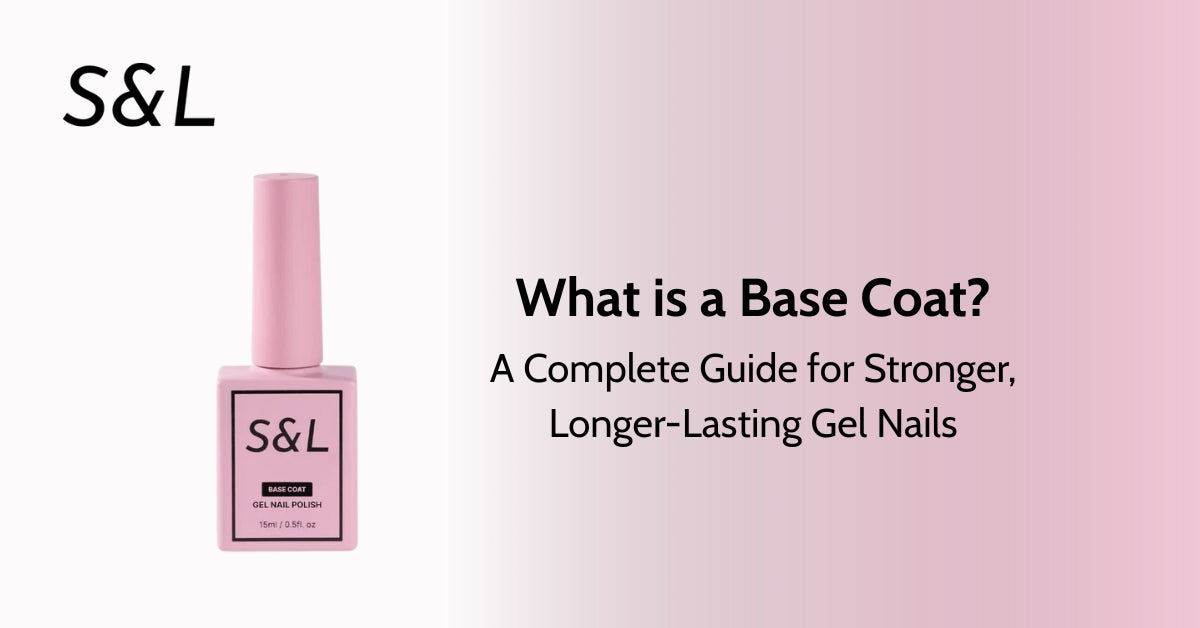
What is a Base Coat? A Complete Guide for Stronger, Longer-Lasting Gel Nails
To achieve a flawless, salon-worthy manicure, everything doesn’t begin with your favorite color—it starts with the base. A high-quality gel base coat is the silent hero of nail artistry, acting as the essential anchor that helps your manicure withstand daily wear and tear. Without this foundational layer, even the most premium gel polishes can peel, chip, or weaken the natural nail.
In this detailed guide, S&L Beauty will walk you through what a base coat is, why it’s a non-negotiable step for salon-standard results, and how to choose the right formula for your unique nail type. Whether you're a DIY nail lover or a professional nail technician, mastering the base layer is the secret to long-lasting, beautiful gel nails.
What is a Base Coat in Gel Nails?
A gel base coat is a clear, viscous liquid polymer applied directly to the natural nail plate to create an adhesive bond for gel polish. Unlike regular nail polish which dries by evaporation, this professional-grade foundation layer requires a UV or LED lamp to cure and harden. It functions effectively as double-sided tape, bonding to the keratin of your natural nail on one side and the gel color on the other.
While regular polish base coats serve mainly to prevent staining, a gel base coat is chemically engineered for structural integrity and flexibility. It creates a smooth surface that fills in ridges and imperfections, ensuring your color application is flawless and even. This foundational step is distinct from the color and top layers, specifically designed to move with the natural nail to prevent cracking!

Why is a Base Coat Important?
The primary function of a gel base coat is to act as a protective barrier, preventing potential staining and discoloration from highly pigmented gel colors. It significantly enhances gel adhesion, forming a powerful bond that prevents the dreaded "lifting" that often ruins a fresh manicure within days. By sealing the natural oils of the nail plate, it ensures a pristine canvas for long-lasting wear.
Furthermore, a quality base coat acts as a nail foundation layer, adding physical strength to thin or brittle nails that are prone to peeling. This added reinforcement absorbs shock and daily impact, directly improving the chip-resistance of your overall manicure. Ultimately, skipping this step compromises the health of your natural nails and the durability of your art.
Key Benefits at a Glance:
- Protection: prevents pigments from yellowing the natural nail plate.
- Adhesion: Acts as the anchor to stop peeling and lifting.
- Smoothing: Fills natural ridges for a glass-like surface.
- Flexibility: Moves with the nail to prevent stress cracks.
Types of Base Coats for Gel Nails
Not all foundation layers are created equal; the market offers various formulas tailored to specific nail health needs and application techniques. From standard formulas for healthy nails to advanced rubber base coats for extra flexibility, choosing the right type is crucial for performance. Professional salons often utilize builder bases to add structure, while DIY users might prefer peel-off options for convenience.
To help you distinguish between the options, here is a comparison of the most popular types of base coats available:
|
Type of Base Coat |
Best For |
Key Features |
|
Standard Gel Base Coat |
Normal, healthy nails |
Thin viscosity, easy application, standard adhesion. |
|
Rubber Base Coat |
Thin, flexible, or brittle nails |
High viscosity, extra flexibility, moves with the nail to prevent cracking. |
|
Builder Base (BIAB) |
Adding length or strength |
Very thick texture, can be used to sculpt short extensions, high durability. |
|
Peel-Off Base Coat |
Short-term wear / Glitter polish |
Removal without soaking/filing, protects nail integrity, lasts 3-7 days. |
|
Vitamin-Infused Base |
Damaged or recovering nails |
Contains keratin or Vitamin E to nourish the nail plate while wearing gel. |
How to Apply Gel Base Coat Correctly
Proper application is just as vital as the product itself; even the best gel base coat will fail if the preparation is rushed. You must ensure the application is thin and even, keeping the product away from the cuticles to prevent lifting during the grow-out phase. A precise, controlled application ensures the curing process is effective and the final result looks professional.
Step-by-Step Application Guide:
- Nail Prep: Gently push back cuticles and buff the nail surface to remove shine.
- Cleanse: Wipe the nail with alcohol or a slip solution to remove all dust and oils.
- Apply Primer: Use a bonding primer (acid-free recommended) for maximum gel adhesion.
- Base Coat Application: Apply a very thin layer of gel base, scrubbing it into the nail plate.
- Seal the Free Edge: Cap the tip of the nail to prevent shrinkage and chipping.
- Cure: Place hand in UV/LED lamp. Cure for 30-60 seconds (LED) or 2 minutes (UV).
- Check: Ensure the layer is sticky (inhibition layer)—do not wipe this off; it bonds to the color.
Common Mistake: Applying the base coat too thick. This leads to heat spikes during curing and creates a bulky, uneven nail surface.

Base Coat vs Top Coat — What’s the Difference?
While they may look identical in the bottle, the chemical composition of a gel base coat and a top coat serves entirely opposite purposes. The base coat is formulated to be sticky and flexible to bond to the nail plate, while the top coat is designed to cure hard, creating a high-shine, scratch-resistant shield. You cannot interchange them; using a top coat as a base will result in the gel popping off immediately.
The order of application is strict: base coat always comes first, and top coat always comes last to seal the manicure. You can never skip the base coat, as gel color does not have the chemical properties to bond securely to natural keratin. Without this designated anchor layer, your manicure is destined to fail within hours!
How to Choose the Best Base Coat for Your Nails
Selecting the right product depends heavily on your natural nail condition and your desired wear time. If you have standard, strong nails, a classic universal base coat will provide sufficient adhesion and longevity. However, those with specific issues like flaking or brittleness require specialized formulas to ensure the manicure protects rather than damages the nail.
Consider these factors when selecting your product:
- For Brittle/Thin Nails: Opt for a Rubber Base Coat. Its high elasticity allows the gel to bend with your flexible nails rather than snapping or lifting.
- For Nail Biters/Extensions: Choose a Builder Base. This adds physical thickness and allows you to build a small apex for structural integrity.
- For Frequent Changes: If you change colors weekly, a Peel-Off Base minimizes the damage caused by frequent acetone soaking and filing.
- Viscosity: Thicker formulas (high viscosity) smooth out ridges better but require more skill to apply evenly; thinner formulas are easier for beginners but offer less structural support.

FAQ About Gel Base Coat
Can a gel base coat be used alone?
Yes, absolutely. You can apply a base coat and cure it for a natural, glossy look that protects your nails. However, you must apply a top coat over it (or wipe off the sticky inhibition layer) to prevent lint and dust from sticking to your nails.
How many layers of base coat do you need?
Generally, one thin, even coat is sufficient for standard adhesion. If you are using a rubber base or builder base to add structure or fill deep ridges, a second coat may be applied, but it must be cured separately.
Why does my gel polish peel off the next day?
This is usually a prep issue or a failure to seal the free edge. If the cuticle was not removed properly or oil remained on the nail plate, the gel base coat cannot bond. Ensuring the nail is dehydrated and primed is essential for gel application steps.
How long should you cure a base coat?
Base coat curing time varies by brand and lamp strength. Typically, 30 to 60 seconds in a modern LED lamp is standard. Always follow the manufacturer’s instructions, as under-curing leads to allergies and lifting.
Is it safe to use different brands for base and color?
While many technicians mix brands successfully, it is chemically safer to stick to a "system." Using the base, color, and top coat from the same manufacturer guarantees that the chemical formulas are compatible and will cure properly together.
Recommended Gel Base Coats
At SL Beauty Co, we understand that the foundation is the most critical part of your manicure. We recommend looking for professional-grade formulas that prioritize nail health without sacrificing durability. Look for products labeled "HEMA-free" if you have sensitivities, and always prioritize low-odor, non-yellowing formulas.
Top Picks for Every Need:
- S&L Peel-Off Base Gel: Designed for those who frequently change nail colors or use glitter gel. Easy to remove without soaking in acetone, protects the natural nail surface, and keeps gel stable for 5–10 days.
- Akzentz X-Bond Universal Base Coat: Ideal for healthy nails, provides strong adhesion for over 3 weeks, and is easy to remove with soak-off.
-
The Flexi-Rubber Base: Our best-seller for thin nails, creating a flexible cushioning layer that prevents breaks and damage.
Final Thoughts
A high-quality gel base coat is more than just a preparatory step; it is the backbone of a stunning, long-lasting manicure. By choosing the right formula for your specific nail type and applying it with care, you protect your natural nails while ensuring your color stays vibrant and chip-free.
We encourage you to invest in a professional base coat and follow the proper preparation steps outlined above. A strong foundation leads to beautiful results—explore our range at SL Beauty Co to find the perfect match for your nail journey.
Leave a comment
This site is protected by hCaptcha and the hCaptcha Privacy Policy and Terms of Service apply.