How to Use a Gel Nail Starter Kit: Your Ultimate Guide to a Flawless At-Home Manicure
Gel nail starter kits are becoming increasingly popular because they’re so convenient and help users save significantly compared to regular salon visits. They’re also designed to be beginner-friendly. However, unboxing your first kit can feel a little overwhelming. If you’re wondering how to use a gel nail starter kit to achieve salon-quality results, this guide from S&L Beauty is exactly what you need.
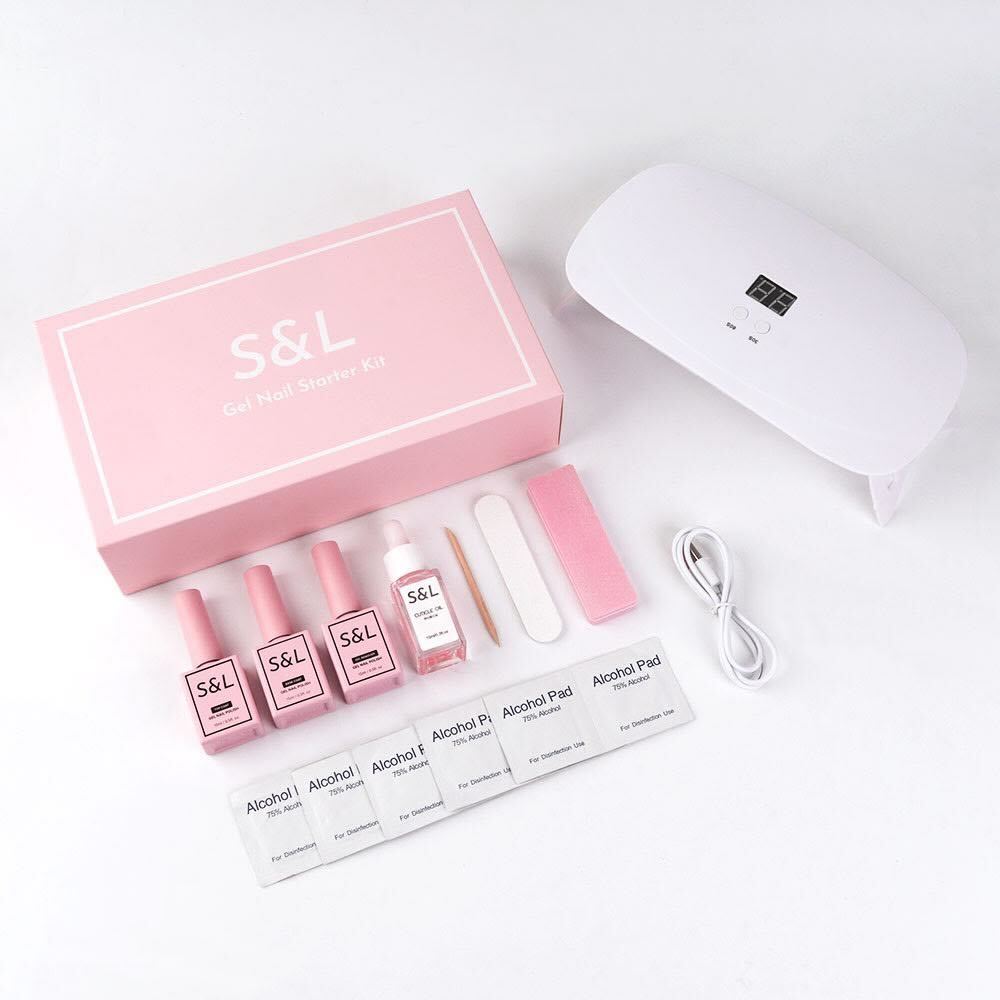
What’s Inside a Gel Nail Starter Kit?
While brands may vary, most beginner kits contain the essential tools you need to complete a full gel manicure from start to finish. Understanding the purpose of each component is the first step toward mastering the process.
Here’s a look at what you can typically expect to find inside:
- UV/LED Lamp: This is the heart of your kit. This device emits specific wavelengths of light to "cure" or harden the gel polish, transforming it from a liquid into a durable, solid finish in seconds. LED lamps are more common now as they cure faster.
- Base Coat: This is the crucial first layer. The base coat is designed to bond with your natural nail, creating the perfect adhesive surface for the color gel to stick to. It also protects your natural nail from staining.
- Top Coat: The final layer of polish. The top coat seals in the color, provides that signature high-gloss shine, and creates a hard, protective shield against chips, scratches, and daily wear and tear.
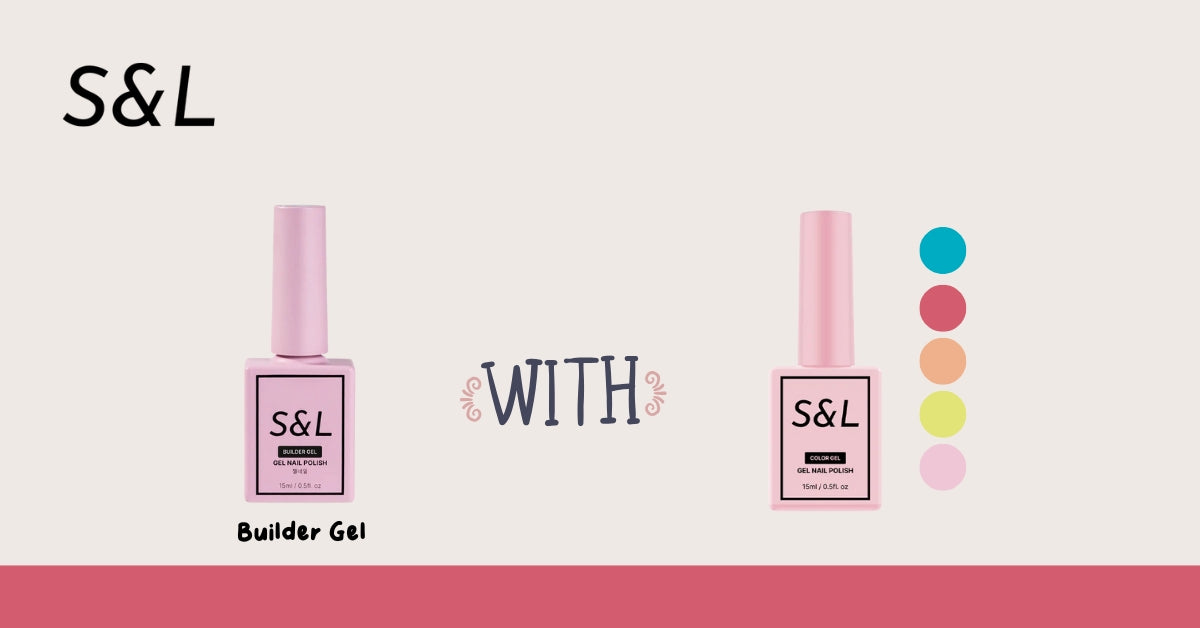
- Color Gel Polishes: Most starter kits include a selection of popular colors, like a classic red, a neutral nude, or a chic dark shade, so you can start creating looks right away.
- Nail Prep Tools: Proper preparation is non-negotiable for a long-lasting manicure. Your kit will likely include: Nail File, Nail Buffer, Cuticle Pusher.
- Removal Tools: When it's time for a change, you'll need the right tools to remove the gel safely. Common items include acetone-based remover, foil wraps or reusable nail clips, and cotton pads.
Some premium kits might also include bonus items like cuticle oil for hydration, nail art accessories like glitter or decals, or a lint-free nail cleanser solution.

S&L Complete Gel Nail Starter Kit Upgraded
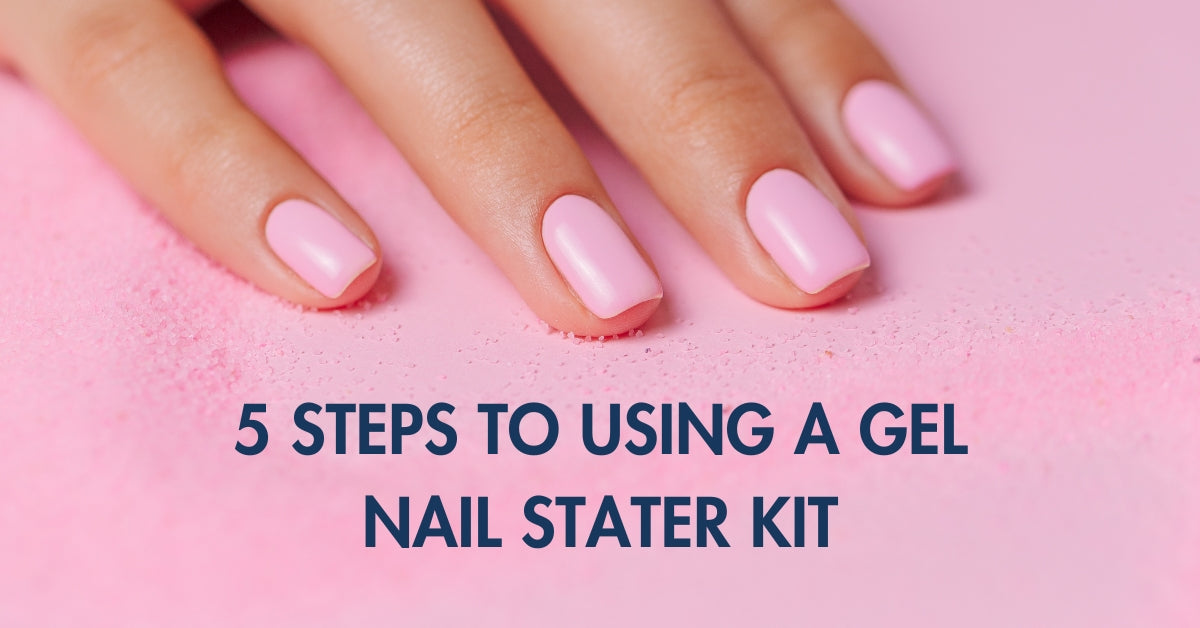
5 Steps to Using a Gel Nail Starter Kit Like a Pro
Ready to get started? Follow these detailed steps for a flawless application. Take your time, especially on your first attempt. Precision is key!
Step 1: Prep Your Nails for Perfection
Never, ever skip this step. Proper nail prep is 90% of the battle for a long-lasting gel manicure. Oils, residue, or uneven surfaces on your nails will cause the gel to lift and peel prematurely.
- Cleanse Your Hands and Nails: Start by washing your hands thoroughly with soap and water to remove any dirt or lotions. Ensure your nails are completely dry before proceeding.
- File and Shape: Use the nail file to shape your nails to your desired length and form (square, round, almond, etc.). File gently in one direction to prevent splitting.
- Gently Push Back Cuticles: Use the flat end of the cuticle pusher to gently push the skin back from your nail plate. This creates a clean, larger surface area for the polish and prevents the gel from adhering to your skin, which can cause lifting.
- Buff the Nail Surface: This is a critical step. Take the buffer block and lightly go over the entire surface of each nail. Your goal is not to thin the nail, but simply to remove the natural shine. This creates a slightly textured surface that the base coat can grip onto securely.
- Dehydrate and Cleanse: Once you're done buffing, wipe each nail with a lint-free wipe soaked in rubbing alcohol (isopropyl alcohol). This removes all the filing dust and, more importantly, dehydrates the nail plate by stripping away any remaining natural oils. Your nails should now look dull and chalky—this is the perfect canvas.

Step 2: Apply the Base Coat
The base coat acts as the double-sided tape between your natural nail and the color polish.
- Apply a THIN Layer: This is crucial. Wipe excess polish from the brush on the rim of the bottle. Apply a very thin, even layer of the base coat to the entire nail, from the cuticle to the free edge.
- Seal the Edge: Gently run the brush along the very tip of your nail. This is called "capping the free edge" and it helps prevent chipping from the tip.
- Cure Under the Lamp: Place your hand under the UV/LED lamp and cure for the time recommended by your kit's manufacturer. This is typically 30-60 seconds for an LED lamp or 90-120 seconds for a UV lamp. Your nails will feel slightly sticky or tacky after curing—this is normal! This sticky layer helps the next coat adhere. Do not wipe it off.

Step 3: Apply the Gel Color Polish
Now for the fun part—adding color! The secret here is multiple thin coats, not one thick one.
- Apply the First Thin Coat: Just like the base coat, apply your chosen color in a very thin, even layer. Start near the cuticle (but don't touch it!) and brush towards the tip. Remember to cap the free edge again.
- Cure: Cure this first layer under the lamp for the recommended time.
- Apply Subsequent Coats: Repeat the process, applying a second thin coat of color. Most colors will require two coats for full, even opacity. Some lighter or sheerer shades might need a third.
- Cure After Each Coat: It is essential to cure each layer of polish fully before applying the next one.

Step 4: Apply the Top Coat
You're almost there! The top coat is your manicure's armor.
- Apply a Thin, Even Layer: Apply the top coat over the entire nail, making sure to cover all the color.
- Seal the Edge One Last Time: This final cap is the most important one for preventing chips and ensuring a long-lasting finish.
- Cure for the Final Time: Place your hand under the lamp for a final curing session. Some top coats require a slightly longer cure time (e.g., 60-90 seconds) to achieve maximum hardness and shine, so check your instructions.

Step 5: Clean and Finish
Wipe Off the Tacky Residue (If Necessary): Some gel systems have a "no-wipe" top coat, which comes out of the lamp perfectly smooth and non-sticky. However, many traditional top coats leave behind a sticky inhibition layer after curing. If your nails feel tacky, simply take a lint-free wipe with rubbing alcohol and firmly wipe each nail. The brilliant, glass-like shine will be revealed.
Hydrate: Your skin has been through a lot! Apply a few drops of cuticle oil to the skin around your nails and massage it in. This replenishes moisture and gives your manicure that fresh-from-the-salon look.
Pro Tips for Best-in-Class Results
- Thin Coats Are Everything: We can't stress this enough. Thick coats cure unevenly, leading to bubbling, wrinkling, and peeling within days.
- Don't Forget to "Seal the Edge": Capping the free edge of your nail with each coat (base, color, and top) creates a seal that dramatically reduces the chance of chipping.
- Use the Correct Lamp: Ensure the lamp you're using is compatible with your gel polish and has adequate wattage. Using an underpowered lamp will result in improperly cured gel that won't last.
- Avoid Water for 1-2 Hours: After your manicure is complete, try to avoid prolonged contact with hot water (like washing dishes or taking a steamy shower) for a couple of hours to allow the polish to fully settle.
Common Mistakes to Avoid (And How to Fix Them)
Learning how to use a gel nail starter kit involves a bit of trial and error. Here are the most common pitfalls for beginners:
- Applying Coats Too Thick: This is the #1 mistake. It leads to a "gummy" texture that never fully hardens, causing it to peel off in sheets. Fix: Always wipe the brush and apply paper-thin coats.
- Skipping Nail Prep: If you don't buff the shine off and dehydrate the nail plate, the gel has nothing to grip onto. Fix: Never skip the buffing and alcohol wipe steps.
- Getting Polish on Your Skin or Cuticles: Gel that is cured onto your skin will lift as your nail grows, taking the rest of the polish with it. Fix: Clean up any mistakes with a small brush dipped in acetone BEFORE you cure.
- Forgetting the Top Coat: Without a top coat, your color is exposed, will look dull, and will chip almost immediately. Fix: Always finish with a high-quality top coat.
- Under-Curing: Not leaving your hand in the lamp long enough results in soft, pliable polish that won't last. Fix: Follow the recommended curing times for your specific lamp and polish.
Removal: How to Safely Take Off Gel Nails Without Damage
Proper removal is just as important as proper application. NEVER peel or pick off your gel polish—this rips off layers of your natural nail, leaving them weak and damaged.
- File the Top Coat: Using a coarse nail file, gently file the shiny surface of your nails. You just need to break the seal of the top coat; you don't need to file all the way down to the color.
- Soak: Saturate a small piece of a cotton ball in 100% pure acetone. Place it on top of your nail.
- Wrap: Tightly wrap the nail with a small piece of aluminum foil or use a reusable nail clip to hold the cotton in place. Repeat for all nails.
- Wait: Let your nails soak for 10-15 minutes.
- Gently Push: After waiting, unwrap one nail. The gel should look soft and be lifting from the nail plate. Use a wooden or metal cuticle pusher to gently scrape the softened gel off. If it doesn't come off easily, re-wrap it and wait another 5 minutes.
- Nourish: Once all the gel is removed, lightly buff your nails to smooth the surface, wash your hands, and apply a generous amount of cuticle oil and a quality nail strengthener.

Frequently Asked Questions (FAQs)
Q: How long do gel nails from a starter kit last?
A: With proper application, you can expect your at-home gel manicure to last for 2 to 3 weeks, just like a salon manicure.
Q: Is it safe to use UV/LED lamps at home?
A: Yes. The UV exposure from a nail lamp during a standard manicure is very low and considered safe when used as directed. For extra peace of mind, you can apply sunscreen to your hands before the manicure or wear fingerless UV-protective gloves.
Q: Do I need to buy any extra tools?
A: A good starter kit covers all the absolute essentials. As you become more confident, you might want to invest in more colors, nail art brushes, a higher-wattage lamp, or an electric nail file (e-file) for faster removal, but none of these are necessary to begin with.
Conclusion: Embrace Your Inner Nail Artist
A gel nail starter kit is more than just a box of tools; it's an invitation to unleash your creativity and achieve professional-level results on your own terms. By mastering the fundamental steps of preparation, application, and removal, you can save money, enjoy a relaxing self-care ritual, and flaunt beautiful, long-lasting nails that you created yourself.
Don't be afraid to experiment. With this guide in hand, you have all the knowledge you need. Now it’s time to choose a kit that fits your style, put on your favorite playlist, and start your journey to a perfect DIY gel manicure.
Leave a comment
This site is protected by hCaptcha and the hCaptcha Privacy Policy and Terms of Service apply.