Nail Care After Winter: How to Prep for Smooth Gel Polish
Have you noticed that your gel polish doesn’t last as long during the colder months — lifting, bubbling, or chipping much sooner than usual? The culprit is the harsh aftermath of winter. Cold air, low humidity, and temperature fluctuations strip away the natural moisture from your skin, hair, and especially your nails. In this article, S&L Beauty shares essential nail care tips for during and after winter to help you restore nail health and achieve a smooth, long-lasting gel finish all spring long.
Why Your Nails Suffer After Winter?
Understanding why winter is so harsh on your nails is the first step to fixing the damage. It’s all about a lack of moisture, both inside and out.
- The impact of low humidity: Cold winter air holds significantly less moisture than warm air. When you add indoor heating systems, which blast dry, hot air, you create an environment that acts like a moisture vacuum, pulling hydration from every part of your body.
- The effect on the nail plate: Your nail plate is composed of multiple layers of keratin. When these layers become dehydrated, they lose their flexibility. Instead of bending slightly with pressure, they become rigid and brittle, leading to splitting, peeling, and delamination.
- The cuticle crisis: Your cuticle is the natural, protective seal between your nail plate and your skin. It’s designed to keep moisture in and bacteria out. Winter air causes this delicate skin to dry out, crack, and lift. This not only leads to painful hangnails but also breaks that essential seal, accelerating moisture loss from the nail matrix (where your nail grows).

So, what are the signs of post-winter nail distress?
- Dry, visibly peeling, or flaky nail surfaces.
- Increased brittleness and splitting at the free edge.
- White spots (keratin granulations) from dryness or minor trauma.
- Cracked, overgrown, or lifting cuticles.
When your nails are in this condition, your color gel polish has no stable foundation to adhere to. Gel polish needs a clean, slightly porous, and balanced surface. If your nail is peeling, the gel is only adhering to a layer that's about to flake off, taking the polish with it. This is why effective dry nails winter care is the foundation of a good manicure.
Step-by-Step Nail Care Routine Before Applying Gel Polish
Restoring your nails doesn't happen overnight, but a consistent routine can make a dramatic difference in just a few weeks. Here is the professional-grade plan for nail prep for gel polish on post-winter nails.
Step 1: Rehydrate Your Nails and Cuticles
This is the most critical long-term step. You cannot fix dryness without adding hydration.
- Invest in a quality cuticle oil: This is non-negotiable. Look for formulas rich in Jojoba oil and Vitamin E. Jojoba oil's molecular structure is incredibly similar to your skin's natural sebum, allowing it to penetrate deeply into the nail plate and surrounding skin, rather than just sitting on top. Vitamin E is a powerful antioxidant that repairs and protects damaged skin.
- Make it a ritual: Apply this oil at least twice a day, especially before bed. Massage it thoroughly into the cuticle, the surrounding skin, and under the free edge of your nail. This feeds the nail matrix and restores flexibility to the nail plate itself.
- The weekly therapeutic soak: Once a week (but not on the same day you plan to apply gel polish), treat your hands. Soak your fingertips in a bowl of warm (not hot) water for 5-7 minutes. You can add a few drops of your cuticle oil to the water for an extra-hydrating emollient bath. This soak softens dead skin and makes cuticle care much gentler. After soaking, gently push back your cuticles with a soft tool.

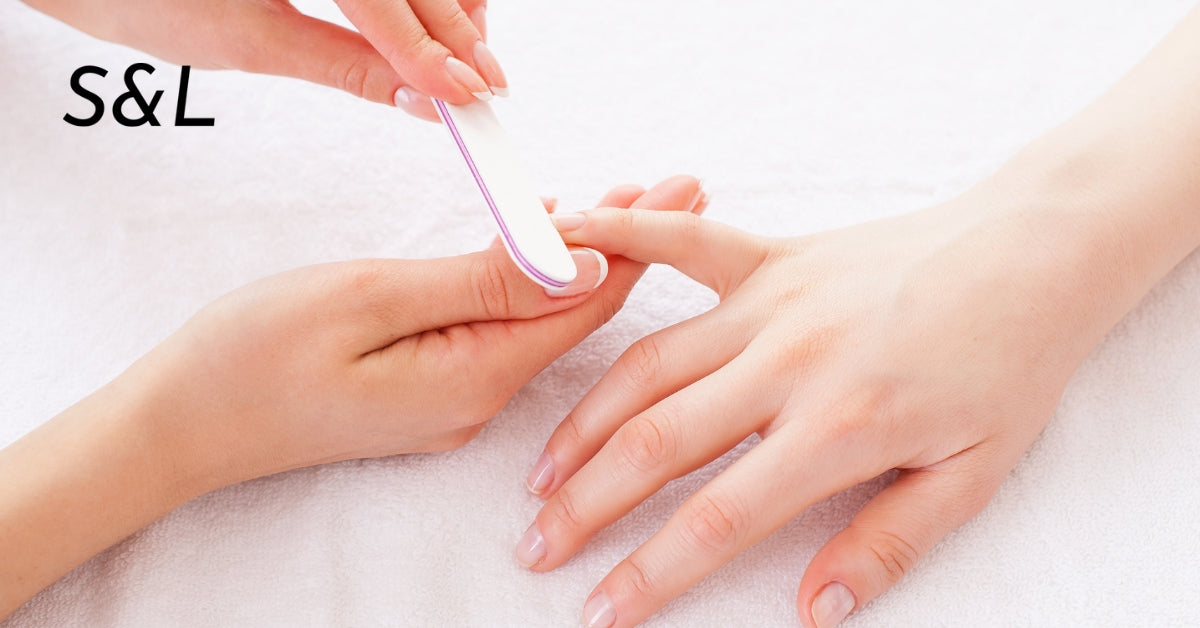
Step 2: Gentle Nail Buffing
Once your nails are more hydrated, the next step is to prepare the surface. The key word here is gentle.
- The goal: The purpose of buffing is not to thin the nail. It is to gently remove any remaining surface oils, dead skin cells, and loose, flaky patches that would prevent the gel from adhering. It also creates a very fine-toothed "etch" on the nail for the base coat to grip.
- The tool: Use a fine-grit buffer, such as a 180-grit or 240-grit block or file. Never use a coarse file (like 100-grit) on your natural nail plate; this is far too aggressive and will cause damage.
- The technique: Use light, unidirectional strokes. Move from the cuticle to the free edge. Your goal is simply to remove the shine from the nail, not to remove layers of the nail itself. Pay special attention to the side walls and the area near the cuticle, as this is where lifting often begins. Over-buffing thins the nail, making it too flexible, which causes the rigid gel polish to crack and lift.
Step 3: Apply Nail Strengthener or Base Coat
After months of brittleness, your nails need structural support. Applying gel polish directly to a weak, thin nail is a recipe for disaster. You need to build a stable foundation first.
- For weak nails: If your nails are exceptionally thin, peeling, or bendy, a thin layer of builder gel (also known as structure gel) is your best friend. This product is designed to do exactly what its name implies: build structure.
- Create a flawless canvas: A builder gel base adds a thin, protective layer of strength that reinforces your natural nail. It acts as a "ridge filler," smoothing over any peels, splits, or unevenness. This is the ultimate secret to how to get smooth gel nails, as it provides a perfectly even, glass-like surface for your color to glide onto.
- How to use: After your base coat (or using a 2-in-1 builder base), apply a thin "slip layer" of the builder gel over the entire nail without curing. Then, place a small bead of the gel in the center of the nail and gently "float" it over the slip layer, guiding it to create a subtle apex (the highest, strongest point of the nail). This provides strength and a beautiful shape. Cure thoroughly according to your lamp's instructions.

Step 4: Keep Hands Hydrated Daily
This final step is all about maintenance. A beautiful manicure can be ruined by dry, rough-looking hands.
- Hand cream is essential: Keep a high-quality hand cream by every sink in your home and in your bag. Apply it every single time you wash your hands. Look for ingredients like Shea Butter, Glycerin, or Hyaluronic Acid that lock in moisture.
- Protect your investment: Wear gloves when washing dishes or using household cleaners. Hot water and harsh chemicals are the number one enemy of both your skin and your gel manicure, as they strip oils and can make the gel brittle.
- Continue the oil: Even after your gel polish is on, continue to apply cuticle oil daily. This keeps your cuticles soft, prevents hangnails, and nourishes the new nail growing from the matrix, ensuring your nails grow out stronger and healthier.
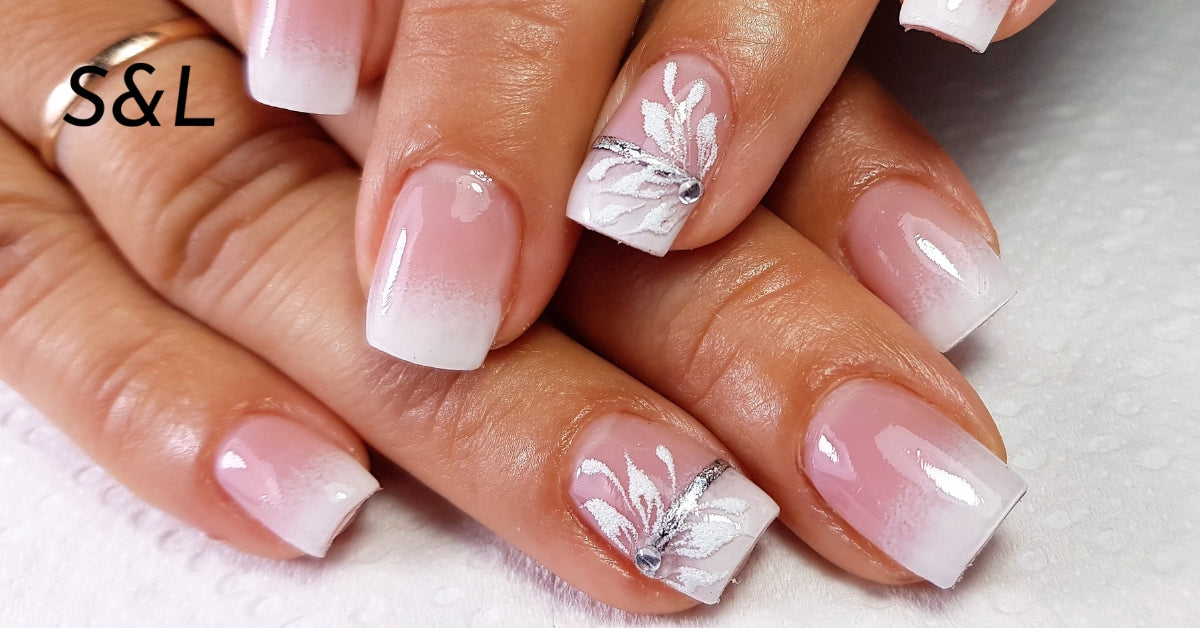
Pro Tips for a Flawless Gel Polish Finish
You’ve done the prep, and your nails are on the road to recovery. Now, here are a few professional gel polish application tips to guarantee that flawless finish.
Tips 1: The Oil-Free Paradox
Yes, we've spent weeks hydrating, but for the 30 minutes before you polish, oil is the enemy. After buffing and shaping, you must dehydrate the nail plate.
Scrub each nail thoroughly with a lint-free wipe soaked in 99% Isopropyl Alcohol or a dedicated "nail prep" solution. This removes all dust and residual oils, which will cause lifting. Do not touch your nail plates with your fingers from this point on.
Tips 2: Prime and Base are Non-Negotiable
Never skip primer (if your system uses it) and base coat. A primer acts as a pH balancer and dehydrator, making the nail "sticky" for the base coat.
The base coat is the anchor; it's formulated to bond securely to the natural nail on one side and the gel color on the other. Apply your base coat in a thin, even layer and be sure to "cap the free edge" (painting the very tip of the nail) to seal the manicure and prevent chipping.
Tips 3: Thin Coats are Key
This is the most important rule for how to get smooth gel nails. Thick, goopy coats will not cure properly.
The top layer will harden under the lamp, but the layer underneath will remain soft, leading to wrinkling, bubbling, and peeling within days. Apply 2-3 paper-thin coats of color, curing fully between each layer.
Tips 4: Avoid Cold Shock
Freshly cured gel is still "settling." Avoid exposing your new manicure to extreme cold (like stepping outside into freezing weather or running hands under cold water) for at least 30 minutes after you're finished. This rapid temperature change can cause the gel to contract too quickly, leading to micro-fractures and brittleness.
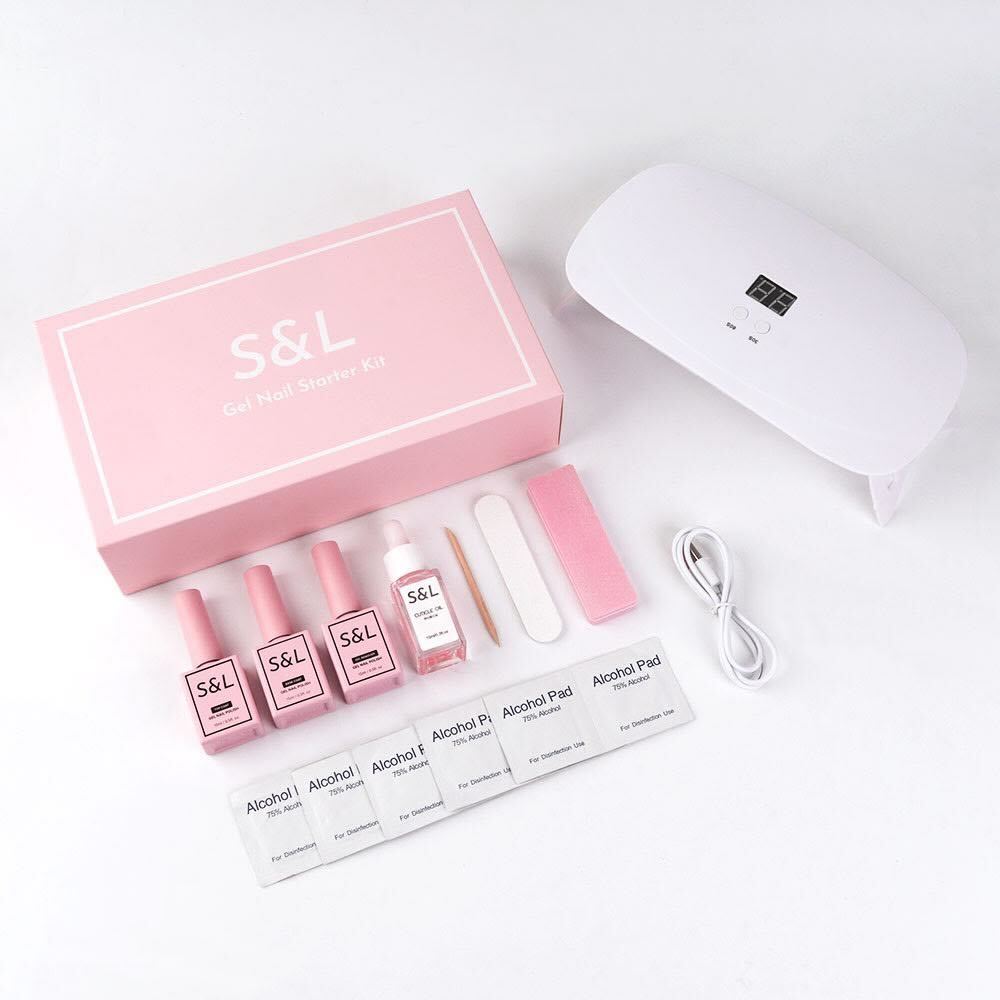
Recommended Products for Post-Winter Nail Recovery
Getting the right results starts with the right products. Our S&L Beauty line is formulated to tackle the specific challenges of dry nails winter care and optimizing nail prep for gel polish.
SL Beauty Nail & Cuticle Oil (Vitamin Blend): This is your primary tool for recovery. Our blend is rich in Jojoba and Vitamin E, designed not just to coat the skin but to penetrate deeply. It restores flexibility to brittle nail plates and heals cracked, dry cuticles from the inside out. Massage a drop into each nail bed nightly for a visible transformation.

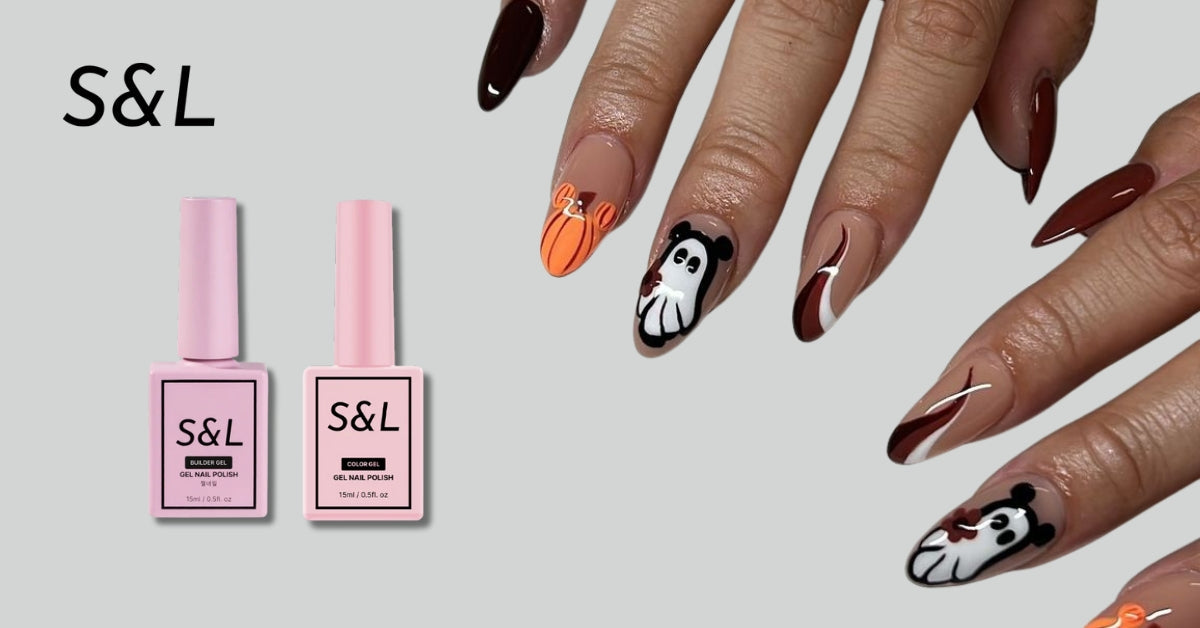
SL Soft Builder Gel: This is your secret weapon for a smooth, strong foundation. Ideal for nails that are weak, peeling, or have ridges after winter. It provides a durable yet flexible layer of support, correcting surface imperfections and preventing your natural nail from bending, which stops your color polish from cracking. The Clear is perfect for any color, while the Milky Pink offers a beautiful, natural-looking base.

Hydrating Hand Cream with Shea Butter: Don't let dry hands detract from your perfect manicure. A high-quality hand cream, like one featuring nourishing Shea Butter, creates a protective barrier to lock in moisture. Use it after every hand wash to maintain a soft, hydrated "frame" for your beautiful nails.
Conclusion
Effective post-winter nail care is simple — keep your nails hydrated, prep them gently, and strengthen their structure. Combine deep hydration with cuticle oil, proper nail plate prep, and a builder gel base for a smooth, durable foundation. Make this routine a regular habit, not just a quick fix before your next manicure.
Leave a comment
This site is protected by hCaptcha and the hCaptcha Privacy Policy and Terms of Service apply.