Does Builder Gel need a top coat? A Complete Beginner's Guide
Many beginners often wonder: Does builder gel need a top coat? The short answer is yes — in most cases, a top coat plays an essential role in protecting the builder gel, enhancing shine, and ensuring long-lasting results. However, whether you need to use a top coat also depends on your nail goals and the type of builder gel you’re using. Join S&L Beauty as we dive into the details below.
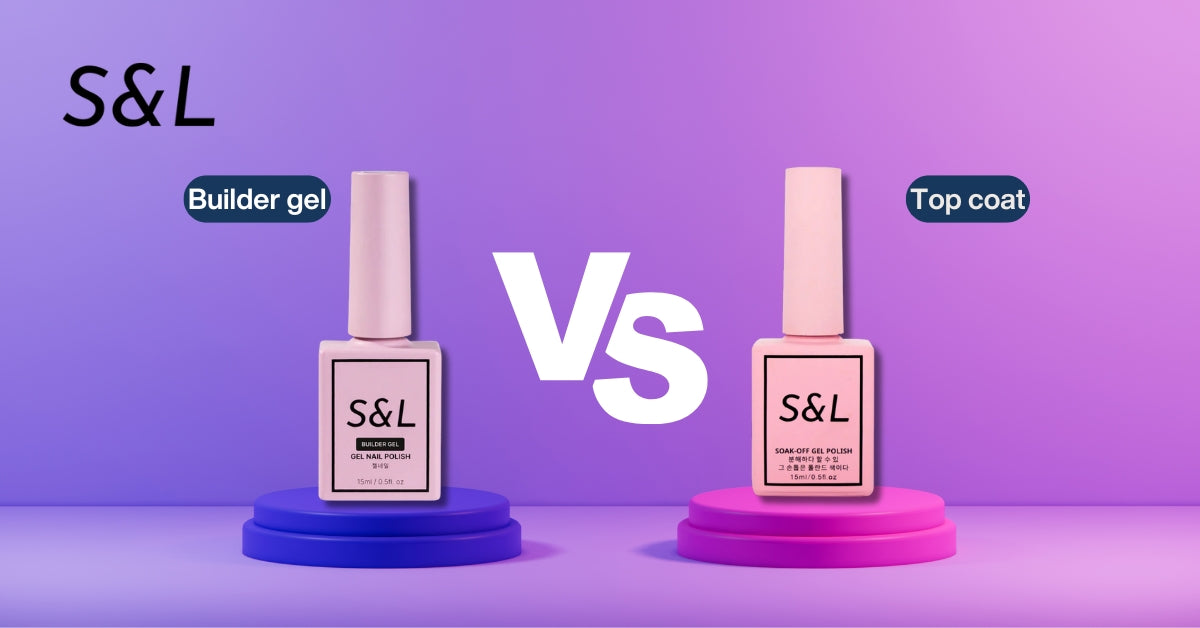
Builder Gel vs. Top Coat: Understanding the Key Differences
To truly grasp why a top coat is so essential, you first need to understand that builder gel and top coat are two fundamentally different products, each engineered for a specific job. They are teammates, not competitors. Thinking one can replace the other is a common beginner mistake that can lead to disappointing results.
Let’s break down their unique characteristics:
|
Feature |
Builder Gel |
Top Coat |
|
Primary Function |
To build structure, add strength, thickness, and shape to the nail. |
To seal, protect the layers underneath, and provide a high-gloss finish. |
|
Viscosity & Texture |
Thicker, higher viscosity. It's designed to be sculpted and stay in place. |
Thinner, lower viscosity. It's designed to flow smoothly over the nail surface. |
|
Key Benefit |
Creates a strong, durable foundation, preventing breaks and cracks. |
Guards against scratches, chips, and color fading from UV light. |
|
Aesthetic Finish |
Cures with a tacky inhibition layer and is often not very shiny on its own. |
Cures to a hard, non-tacky, high-shine, or matte surface. |
The Architect vs. The Bodyguard
Think of it this way: Builder gel is the architect and structural engineer of your manicure. Its primary role is to construct a solid and resilient foundation. The thicker consistency allows you to build an "apex"—the highest point of the nail enhancement—which provides the architectural strength needed to prevent breaks. It can fill in ridges on the natural nail, create short extensions, and encapsulate glitter or other art. Its job is all about strength and shape.
On the other hand, the top coat is the high-tech security guard and finishing artist. Its job is not to build structure but to protect everything beneath it. Its thinner formula is designed to glide over the builder gel and any color polish, creating a durable, non-porous shield. This shield protects your manicure from the daily enemies: scratches from keys, dullness from hand soap, and color fading from sunlight. And, of course, it delivers that stunning, mirror-like shine that we all associate with a professional gel manicure.
Conclusion: Builder gel cannot replace a top coat’s protective and finishing properties, and a top coat lacks the viscosity and strength to build structure. They are designed to work in synergy to complete a beautiful, long-lasting manicure.

When is a Top Coat Absolutely Necessary with Builder Gel?
In the vast majority of applications, a top coat is not just a recommendation; it's a requirement for a professional and durable finish. Here are the most common scenarios where you should never skip this final, crucial step.
After Applying Gel Polish Over Builder Gel
This is the most common reason to use a top coat. Once you have perfected the shape and structure with your builder gel, you will likely want to add color. A layer of top coat over your chosen gel polish is essential for several reasons:
- Color Protection: It acts as a UV inhibitor, preventing the sun from fading or yellowing your beautiful color.
- Scratch Resistance: The top coat provides a hard, scratch-proof layer that protects the soft, pigmented gel polish underneath from daily wear and tear.
- Longevity: It seals the color in, significantly extending the life of your manicure and keeping it looking vibrant and fresh for weeks.

To Seal in Nail Art and Embellishments
If you're expressing your creativity with nail art, a top coat is your best friend. Whether you've painted intricate designs, applied delicate decals, used chrome powder, or attached small rhinestones, a top coat is what locks it all in place.
- Creates a Smooth Surface: It encapsulates the art, creating a perfectly smooth and level surface. This prevents 3D elements like glitter or gems from snagging on clothes or hair.
- "Locks" the Design: It seals the artwork, preventing it from chipping, peeling, or rubbing off over time. For larger embellishments, you might even use a bit of builder gel to secure them first, and then apply a top coat over the entire nail for a cohesive finish.
When Your Builder Gel Has a Tacky or Matte Finish
Most builder gels cure with a sticky or "inhibition" layer. This tacky residue is perfectly normal; it's simply uncured gel that helps subsequent layers adhere better. However, it's not a desirable final finish as it attracts lint, dust, and dirt.
- Provides Shine: While you can wipe this tacky layer off with isopropyl alcohol, doing so will often leave the builder gel with a dull, matte, or satin finish. A high-gloss top coat is needed to deliver that signature, brilliant shine.
- Eliminates the Tacky Layer: Using a "no-wipe" top coat is an even more efficient solution. It cures completely dry and shiny, eliminating the need for a final alcohol wipe altogether.

Are There Exceptions? When You Might Skip the Top Coat
While it's rare, there are a couple of specific situations where you might be able to get away without using a separate top coat.
- If you are using a clear builder gel ONLY for strength, with NO color on top…
- The product is specifically marketed as a 2-in-1 or 3-in-1 formula (Base, Builder, and Top Coat)...
- The manufacturer explicitly states that a top coat is not required.
Some modern builder gels are formulated to have higher shine and can be wiped with alcohol to reveal a glossy finish. These are often used for simple, clear, natural nail overlays where the primary goal is just to add strength.
However, a word of caution is needed here. Even in these scenarios, the shine and scratch resistance will likely be inferior to that of a dedicated top coat. For maximum durability, protection, and a truly professional-looking gloss, it is estimated that over 80% of all builder gel applications—even clear ones—will benefit from a separate top coat. The added protection is almost always worth the extra two minutes it takes to apply and cure.

The Ultimate Step-by-Step Guide to Applying Builder Gel and Top Coat
Ready to create the perfect manicure? Follow this standard professional procedure for flawless results.
Step 1: Meticulous Nail Preparation
This is the most critical step for ensuring longevity and preventing lifting. Do not rush it!
- Shape: Gently file and shape the free edge of your nails to your desired look (e.g., square, almond, round).
- Cuticle Care: Push back your cuticles gently. Carefully trim any dead, non-living tissue (the eponychium) only if you are trained to do so.
- Buff: Lightly buff the entire surface of the nail plate with a fine-grit buffer (180 or 240 grit). You only want to remove the shine, not file down the nail.
- Cleanse: Using a lint-free wipe, cleanse each nail with 90%+ isopropyl alcohol. This removes all dust and oils, dehydrating the nail plate for optimal adhesion.
Step 2: Apply Base Coat (Generally Recommended)
While some builder gels claim a base coat isn't needed, applying one is excellent insurance, especially for beginners or those with oily nail beds.
- Apply a very thin layer of a quality gel base coat to the entire nail.
- Be sure to "cap the free edge" by running the brush along the tip of the nail.
- Cure for 30-60 seconds in an LED lamp, or as per the manufacturer's instructions.
Step 3: Apply the Builder Gel
This is where you build the structure.
- Slip Layer: Apply a very thin layer of builder gel over the entire nail, much like you did with the base coat. Do not cure this layer. This "slip layer" helps the next bead of gel glide smoothly.
- Build the Apex: Place a small bead of builder gel in the center of your nail (the stress area).
- Guide the Gel: Using the tip of your brush, gently "float" the gel, guiding it towards the cuticle and side walls, leaving a tiny gap. Guide it down to cover the free edge. The gel should be thickest in the center (the apex) and thinner at the edges.
- Self-Level: Turn your hand upside down for a few seconds to allow gravity to help the gel self-level and perfect the apex.
- Cure: Cure for 60-90 seconds in an LED lamp. The curing time will vary based on the gel's thickness and your lamp's power.
- Refine (Optional): After curing, you can wipe off the tacky layer with alcohol and gently file the nail to perfect its shape. If you file, be sure to cleanse away all dust before the next step.
Step 4: Apply Gel Polish Color (Optional)
If you desire color, now is the time.
- Apply your first thin coat of gel polish.
- Cure for 30-60 seconds.
- Apply a second coat for full opacity and cure again.
Step 5: Finish with the Top Coat
This is the final, essential step.
- Apply a thin, even layer of your gel top coat over the entire nail.
- Remember to cap the free edge again. This is vital for preventing chips.
- Cure for 60 seconds or as directed.
- Final Cleanse: If you used a "wipe" top coat, it will have a tacky layer. Use a lint-free wipe with isopropyl alcohol to clean the nail one last time, revealing a brilliant, hard shine. If you used a "no-wipe" top coat, you are done after curing!
- Nourish: Finish by applying a drop of cuticle oil to nourish the skin around your nails.
Pro-Tips for Beginners: Choosing and Using Your Products
- Choose High-Quality Products: Your final result is only as good as the products you use. Invest in a high-quality builder gel and top coat to avoid issues with lifting, chipping, or potential skin allergies.
- Always Read the Instructions: Different brands may have slightly different recommended application methods or curing times. The manufacturer's guide is your best source of information.
- Don't Skip the Top Coat: As we've established, unless you are using a specific all-in-one product for a clear overlay, do not skip the top coat. The added shine, durability, and protection are what elevate a good manicure to a great one.

The Final Verdict: To Top Coat or Not to Top Coat?
Builder gel is the secret weapon for achieving a strong, perfectly shaped, and long-lasting nail foundation. But to complete the masterpiece and protect your work, a top coat remains an indispensable step in almost every single case. It's the shield that guards against the world and the polish that provides that coveted, head-turning shine.
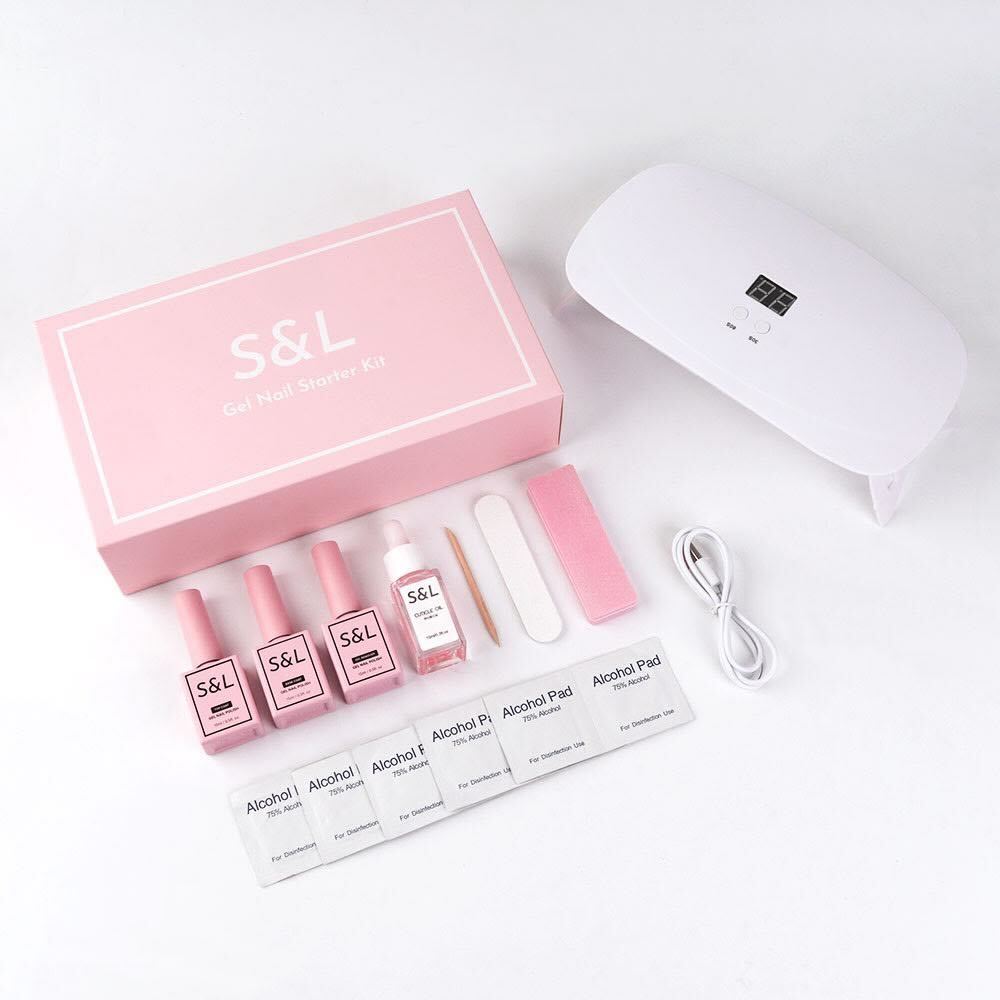
If you are searching for a system of safe, beginner-friendly builder gel and top coat products that deliver rich pigmentation and professional results, look no further. Explore the collection at S&L Beauty. Our formulas are 5-free, vegan, and cruelty-free, designed to bring the luxury and quality of a salon experience right into your home.

Leave a comment
This site is protected by hCaptcha and the hCaptcha Privacy Policy and Terms of Service apply.